
Specifying the Flat Table Position After Setup Completion
After the object to be printed on is set up, you can specify the movement destination of the flat table in advance. This action eliminates unnecessary table movement after setup, allowing printing to start immediately and reducing the time required to begin printing.
Procedure
- Set up the object to be printed on.
-
Tap
 .
.
- Tap .
-
Select Table Position After Setup Completion from the following.
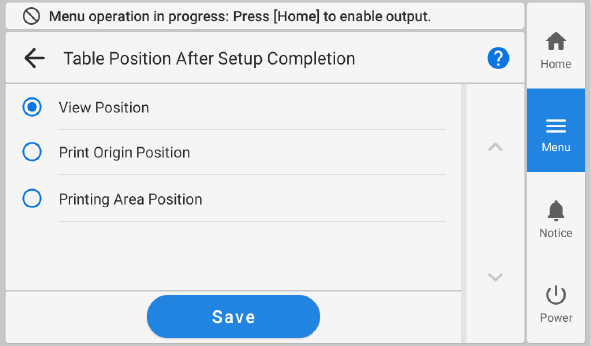
Table Position After Setup Completion Description View Position After setup finishes, the flat table moves forward.
Print Origin Position After setup finishes, the flat table moves to the print origin position. Use this option in print modes that reference the print origin. Printing Area Position After setup finishes, the flat table moves to the trailing edge of the printing area. Depending on the print mode,*1 the reference will be the trailing edge of the printing area, not the print origin, so the flat table moves to this trailing edge. *1 Such as during one pass multilayer printing of or . - Tap Save to confirm your entry.
-
Tap
 to return to the home screen.
MEMO
to return to the home screen.
MEMO- Default setting: View Position