
Changing the Settings with Batch Media Settings
Procedure
-
Tap
 .
.
-
Tap .
Change the settings for Print Origin, Printing Area, Media Suction Force, Output Start Location under Nozzle Drop-out Test, and Printing Movement Range in that order.
-
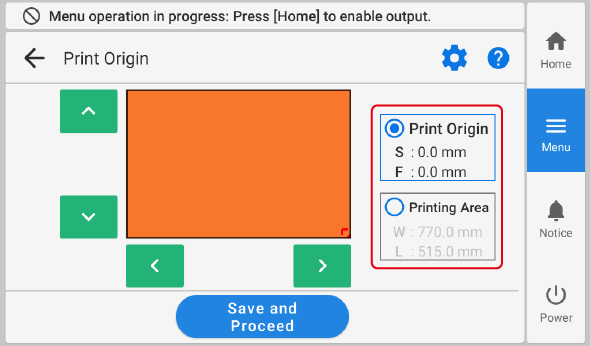
Change the settings for Print Origin and Printing Area.
Refer to steps 12 through 15 of Determining the Print Surface Height and Printing Position to change the settings.
When you have finished configuring the settings, tap Save and Proceed.
-
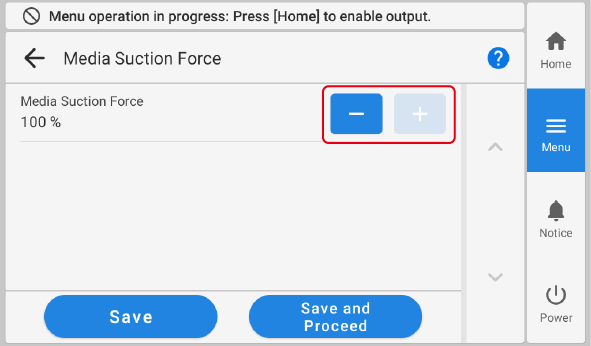
Change the Media Suction Force.
Refer to step 5 of Adjusting the Suction Force to change the setting.
When you have finished configuring the settings, tap Save and Proceed.
MEMO If you want to stop after making changes up to this point, tap Save> .
.
-
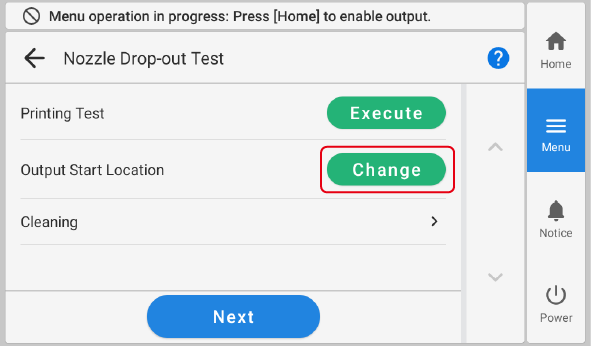
Change the Output Start Location.
Refer to Step 3 of Step 2: Performing a Nozzle Drop-out Test to perform the test.
Once you have performed the test, tap Next.
MEMOIf you want to stop after making changes up to this point, tap
.
-
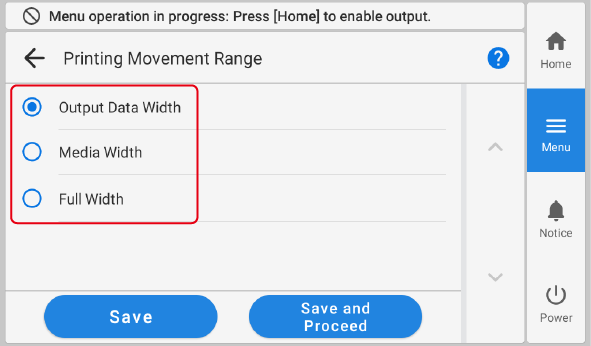
Change the Printing Movement Range.
Refer to step 3 of Speeding Up Printing for Narrow Objects to change the setting.
When you have finished configuring the settings, tap Save and Exit.
-
Tap to return to the home screen.