
Step 3: Configuring the Job Settings
MEMO Depending on the model you are using, some items may not be displayed. The items which cannot be selected may vary depending on the job, other selected items, and other factors.
Procedure
-
Select a job, and then click
 .
.
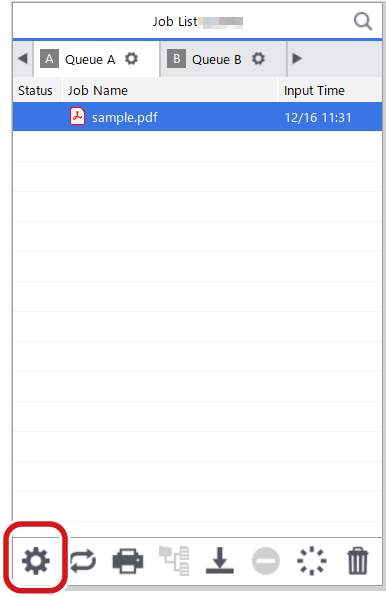
The Job Settings window appears.
-
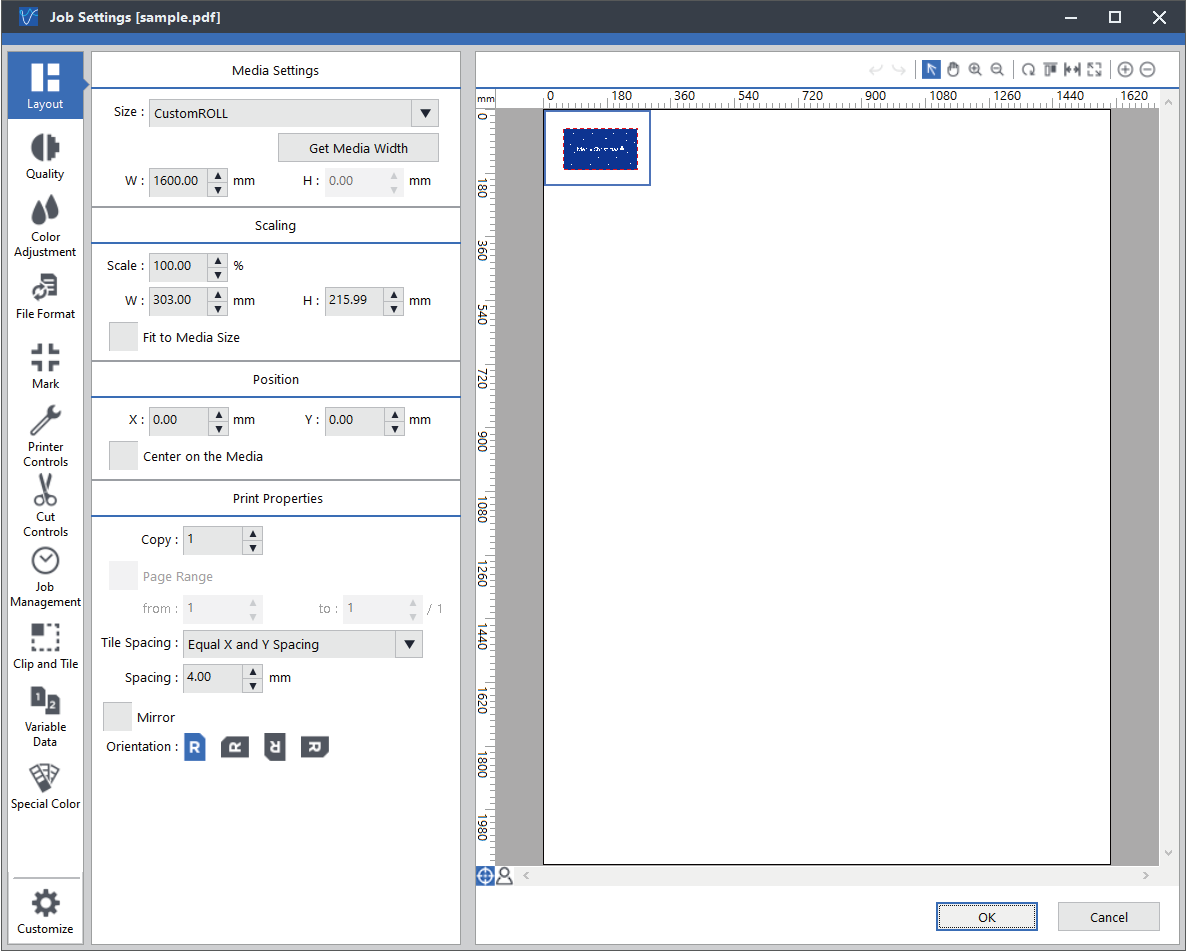
Set the width of the printing area.
-
Click
 .
.
-
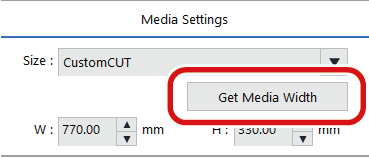
Click Get Media Width.
The width of the printing area is acquired from the printer, and the value of W is entered automatically.
-
Click
-
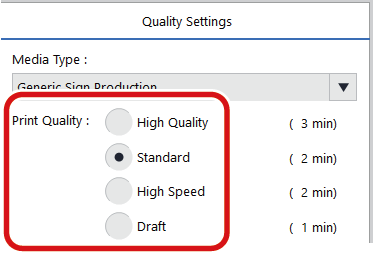
Set the media type and the print quality.
-
Click
 .
.
-
Select the type of the media to print on from the Media Type list.
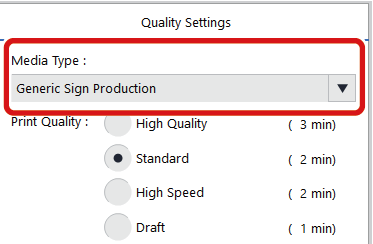
-
Use Print Quality to select the printing quality.
-
Click
-
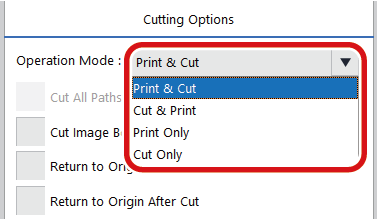
Set the operation mode.
-
Click
 .
.
-
Select how the machine operates from the Operation Mode list box.
- Print Only: Perform printing.
- Print & Cut: Performing Printing and Cutting
-
Click
-
Click OK in the queue properties window.
MEMO
These items can also be set in the queue folder properties. Settings made in the queue folder properties are applied to all the jobs that are added in each queue folder.
For more information, refer to VersaWorks Help.