Step 1: Creating Cutting Data
Enter text and shapes, and create cut data. This section explains how to create cut data containing "SALE," and to add a "weed line," which facilitates peeling afterwards.
Procedure
- Start CutStudio.
-
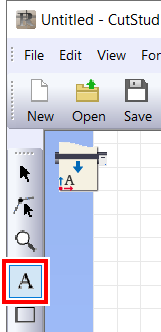
Click
 .
.
-
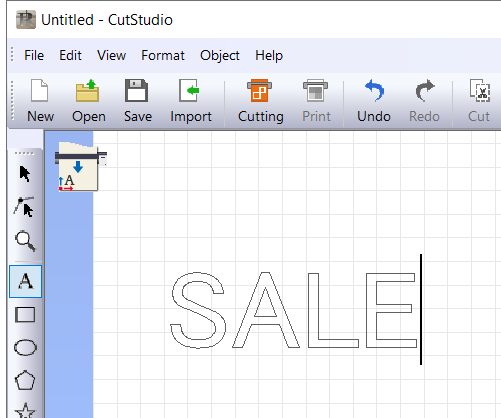
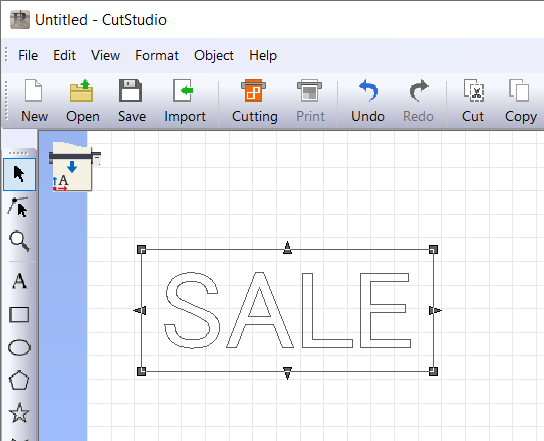
Click anywhere, and then type "SALE."
-
Click
 , and change the size of the characters.
 and
and  appear around the text. Drag or to change the text size.
 MEMO To specify text size in values, select the target object and click
 .
. -
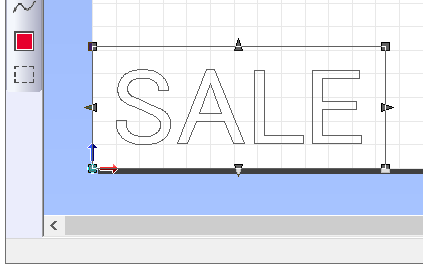
Click .
The Weed window is displayed.

-
Select the Weed Border check box, and then clickOK.
A weeding line is added around the text.
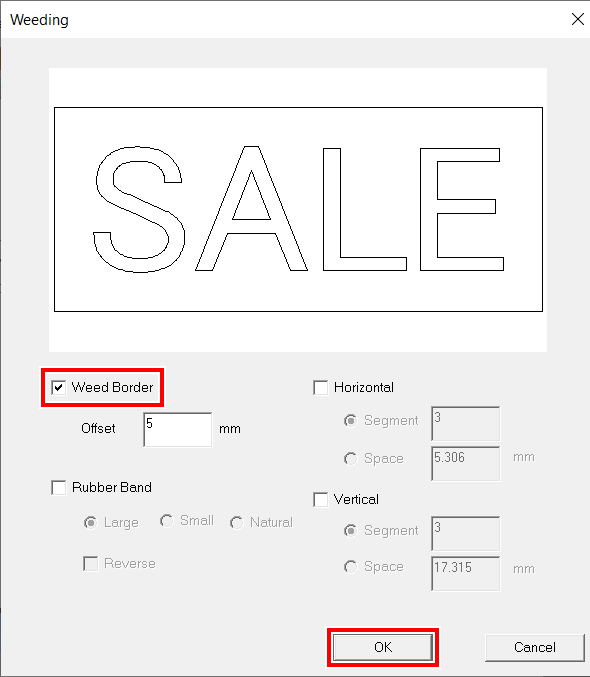
The entered object is grouped with its weed line. For details on weed lines, see the CutStudio Help.
-
Click an object, then click
 .
.
The object moves to the origin.

MEMOThe origin displayed on CutStudio indicates the output start position of the loaded material.
By positioning the object to the origin, excess feeding of material can be prevented.
-
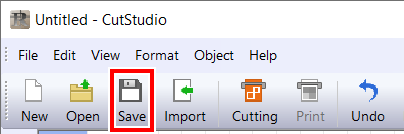
Click
 .
.
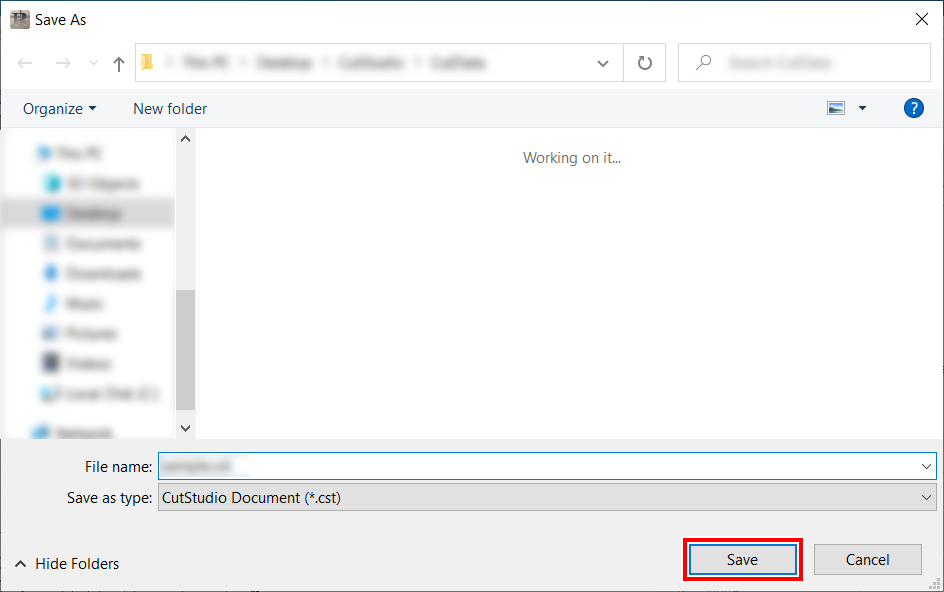
-
Select the folder in which to save the data, enter the file name, and then click Save.
The data you have created is saved.