Procedure
- Start CutStudio.
Windows 10 and Windows 7
On the Start menu, click All Programs (or Programs), click Roland CutStudio, and then click CutStudio.
Windows 8.1
At the lower left of the Start screen, click
 to display the Apps screen. Click
  .
. -
The screen shown below appears.
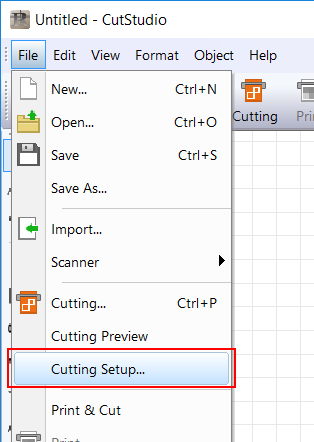
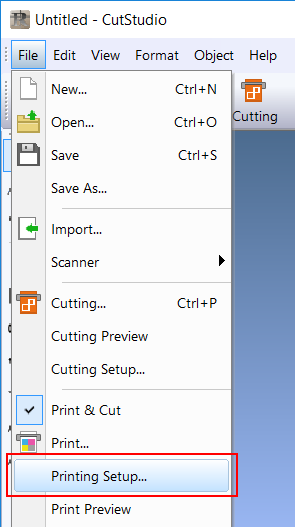
- From the File menu, click Cutting Setup.
- Use Name under Printer to select the model name of the machine on hand.
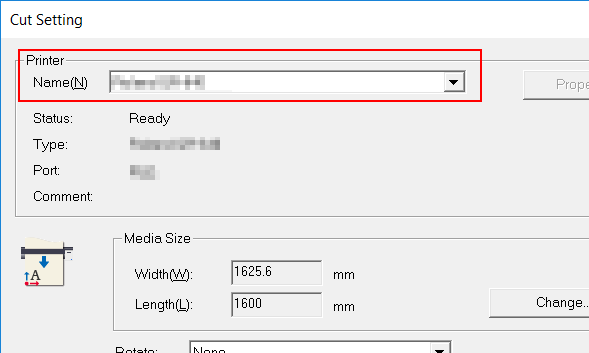
- Click OK.
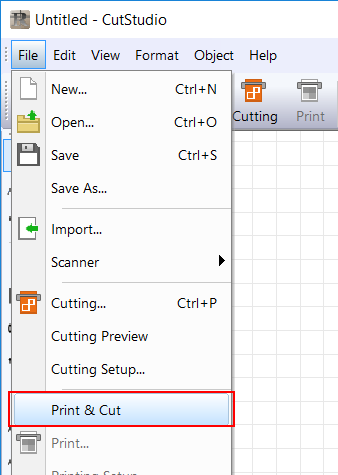
- From the File menu, click Print & Cut.
The printing area and crop marks are displayed on the screen. The printing area is displayed with dotted lines. This area corresponds to the paper size specified in Set up the printer excluding the margins specified in Printing Setup.
(1) Printing area
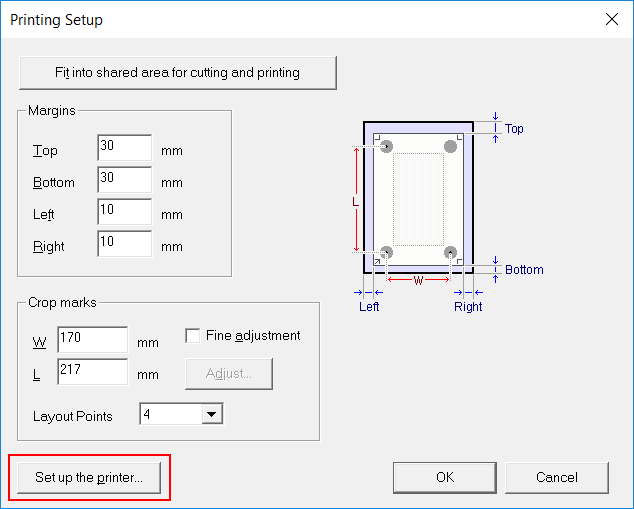
(2) Crop mark - From the File menu, click Printing Setup.
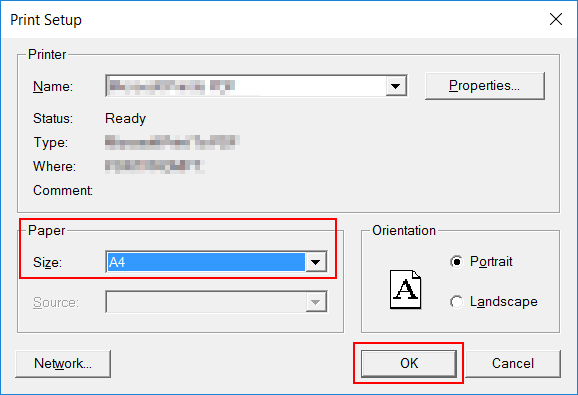
- Click Printer Setup.
- Set the document size, and then click OK.
- Click Fit into shared area for cutting and printing.
The crop mark location is set automatically.
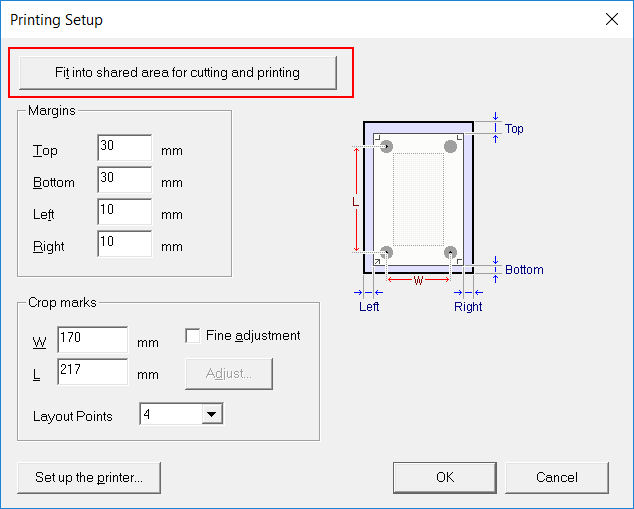
For guidelines when setting the margins and crop marks, see "Setting the Margins and the Distance between Crop Marks."
- Click OK.
After setting the values, check that the crop marks are within the printing area.

* Ensure that the crop marks do not project outside of the dotted lines.