In most cases you should use 4 crop marks.
-
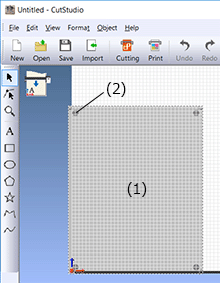
(1) Printing area
(2) Crop mark
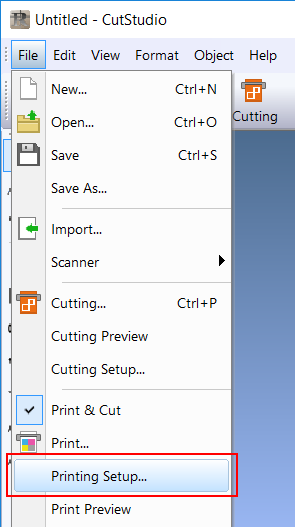
- From the File menu, click Printing Setup.
- From the Layout Points list, select 3.
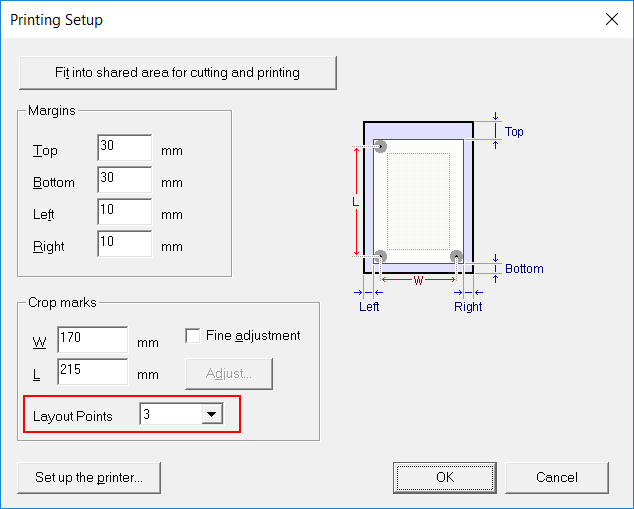
- Click OK.
After setting the values, check that the crop marks are within the printing area.
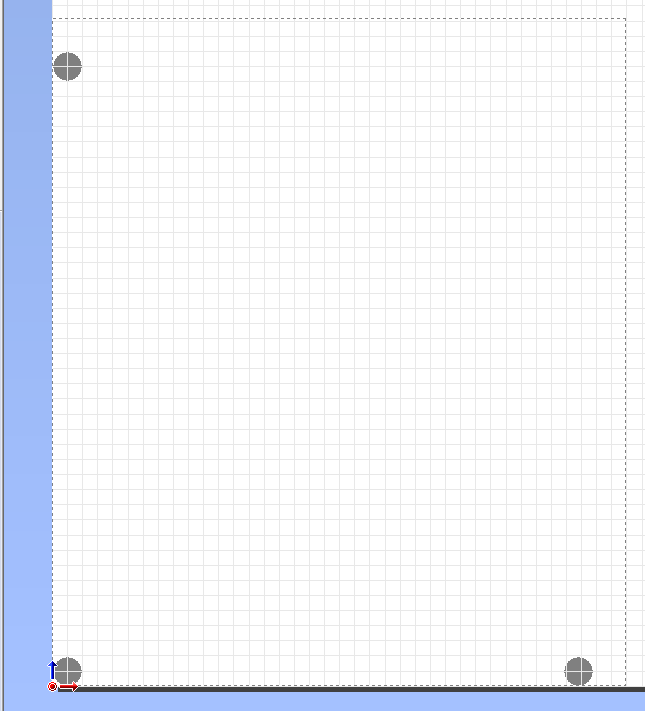
Switching to 3 Crop Marks
CutStudio
Procedure
- Click
 , and then click Crop marks.
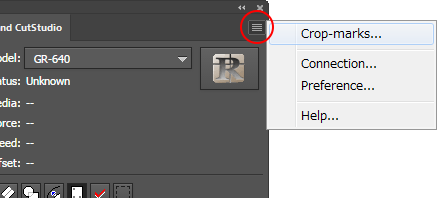
- From the Point list, select 3.
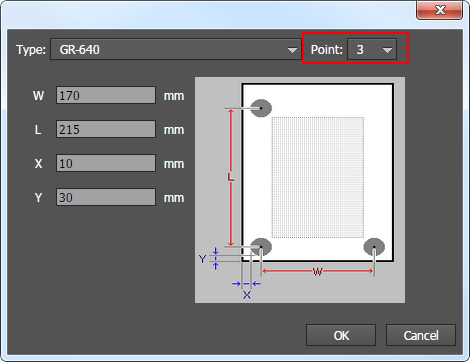
- Click OK.
Illustrator
Procedure
- Click
 , and then click Crop marks.
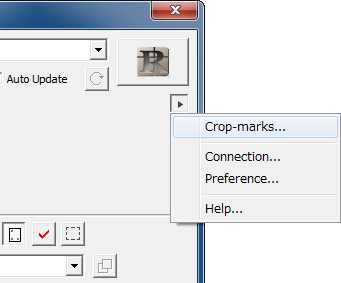
- From the Point list, select 3.
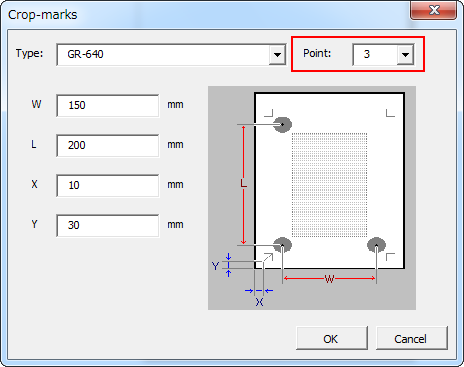
- Click OK.
CorelDRAW
Procedure