
2. Perform cutting.
IMPORTANT Before cutting, select the "Accept setup command" setting on the machine.
Prioritizing the Cutting Settings of the Printer Driver (or CutStudio/VersaWorks)
Procedure
-
Click .
The Print window appears.
-
Configure the following settings.

-
Click Printer.
If a message appears, click Continue.
The Print window appears.
-
Click Preferences.
The Printing Preferences window appears.
- Click the Cutter tab.
-
Edit the cutting conditions.
Click Load to load cutting condition presets.

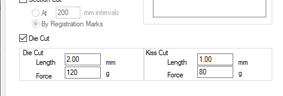
- Select the Die Cut check box.
-
Enter the lengths and blade forces for Die Cut and Kiss Cut.
- Click the Paper tab.
-
Click Get from Machine.
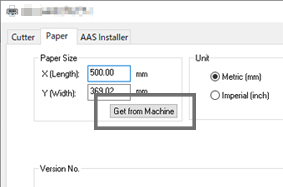
The size (cutting area) of the material loaded in the cutting machine will be imported into Paper Size.
-
Click OK.
The Printing Preferences window closes.
-
Click Print.
The Print window closes.
- Click Done.
-
Click .
The Print window appears again.
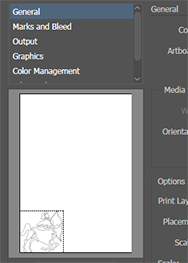
Using the preview window, check that the cutting data is displayed at the bottom left.
-
Click Print.
The data is output and cutting starts.