
Configuring Media Settings and Registering Media
To print on the desired media using the printer, basic settings appropriate for printing on the media must be configured and registered (saved). The settings must be registered when using the media for the first time. The basic settings must be configured according to the printer (machine being used for printing) and the media (media being printed on), and if either of these changes, the settings must be reconfigured.
To use registered media, select the desired media from the list of available media. For details on setting up the media, see "Setting Up Registered Sheet Media." Load the saved setting information and configure the printer settings.
-
Tap
 Setup.
-
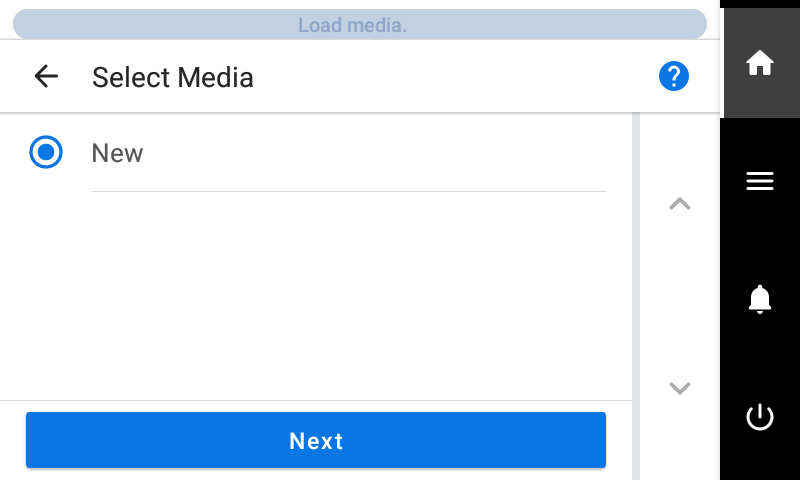
Tap and select New, and then tap [Next].
-
Enter a new media name and tap OK.
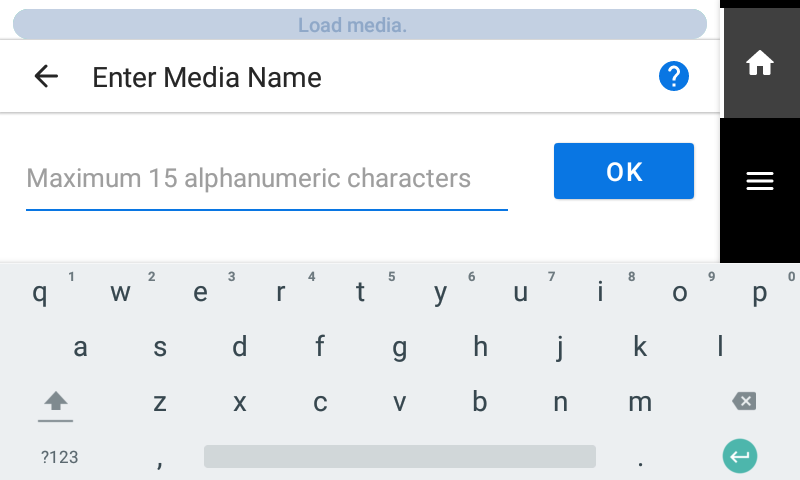
- Tap [Next].
-
Enter the length of the loaded media, and tap OK.
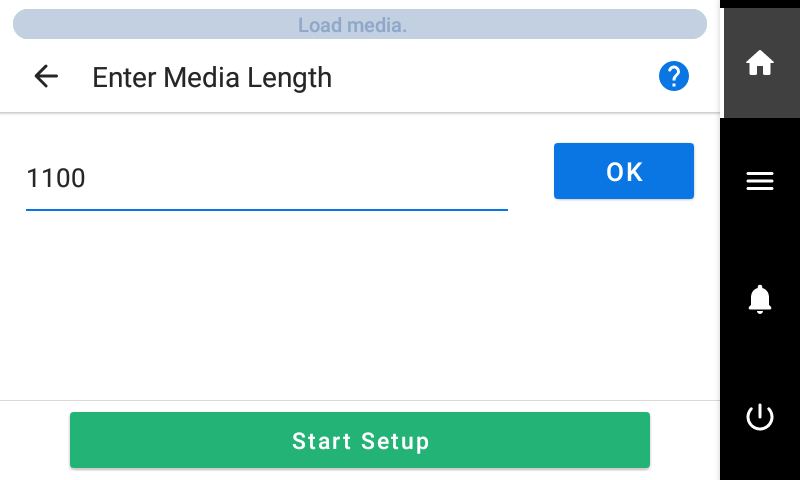 IMPORTANT Media longer than the entered media length will not be fed. However, this restriction will not be applied if "0" is entered. In such cases, pay close attention to the size of the print data to prevent the media from coming off during printing.
 -
Tap Start Setup.
The cutting carriage moves and detects the width of the media and the positions of the media clamps. This operation is called initialization.
-
When The media could not be detected automatically. Manually set the printing area. appears, use the following procedure to configure the settings.
MEMO This message may appear when media with high reflectance is set up.
-
Hold down
 or
or  to move the center of the blade (A) approximately 2 mm (0.08 in.) to the inside (B) from the left edge of the right pinch roller.

-
Hold down or to move the center of the blade (A) approximately 2 mm (0.08 in.) to the inside (B) from the right edge of the left pinch roller.

-
Hold down
-
On the Select Media Output Type screen, select the output type and tap Next.
- Print Only/Print & Cut
Proceed to step 9.
- Cut Only
Switch to the Multi Sensor Adjustment screen. When automatic adjustment is finished, tap OK. This completes the settings for Cut Only.
Refer to the user's manual of the printer you are using if adjustment fails.
- Print Only/Print & Cut
-
Use the Print Head Height screen to adjust the print head height.
- If this is not necessary, tap Next.
- Follow the procedure below to make adjustments.
- Tap Change
- Open the front cover.
- Move the height-adjustment lever to adjust the head height.
- Close the front cover.
- Tap OK.
- Tap Next.
-
On the Nozzle Drop-out Test screen, configure the Printing Test and Output Start Location settings.
- If this is not necessary, tap Next.
- To perform a Printing Test, tap . Refer to the user's manual of the printer you are using for information on what to do after the printing test.
-
On the Select Media Adjustment Method screen, select the adjustment method.
Here, the media feed correction for reducing horizontal bands and the correction of the landing position of the ink will be adjusted.MEMO Simple Correction (Auto) is the recommended adjustment. You can determine the correction values with Detailed Correction (Manual).
- Follow the procedure below to make automatic adjustments.
- Tap .
- Tap Execute on the Batch Automatic Correction screen.
On successful completion of automatic adjustment, the home screen appears. This completes the settings.
Refer to the user's manual of the printer you are using for more information.
- Follow the procedure below to make manual adjustments.
- Tap .
- Tap Execute on the Multi Sensor Adjustment screen.
Adjust the reading sensor to the optimal condition. Refer to the user's manual of the printer you are using if adjustment fails.
- Tap Next.
- Perform a printing test on the Detailed Feed Correction (Manual) screen.
Set the correction values from the printing test result. Refer to the user's manual of the printer you are using for more information.
- Tap Save and Proceed.
- Perform a printing test on the Detailed Media Gap Adjustment (Manual) screen.
Set the correction values from the printing test result. Refer to the user's manual of the printer you are using for more information.
- Tap Save and Exit.
- Follow the procedure below to make automatic adjustments.