
Correcting the Milling Position According to the Milling Results for Correction (Manual Correction)
Use this section to mill material for correction and manually measure the milling results. Then, correct the milling position according to the measured results. This operation is called "manual correction." Performing manual correction may reduce variations in milling accuracy. If you need milling results with higher accuracy, we recommend that you perform manual correction.
Before performing manual correction, be sure to complete automatic correction.
If you perform automatic correction after manual correction, the correction value of manual correction will be initialized.
Automatic correction| Included item | Items to prepare yourself | ||
|---|---|---|---|

|

|

|

|
|
Adapter |
ZRB-200D (4 mm [0.16 in.] radius end mill) *1 |
Disc workpiece (wax material) |
Digital micrometer*2
|
Prepare a digital micrometer that meets the following specifications.
- Measurement range: 0 to 25 mm (0 to 0.98 in.) or more
- Measurement surface dimensions: Diameter: 6 mm (0.23 in.) or less
When performing manual correction, give attention to the following two points.
-
Use wax material.
- Manual correction has been designed assuming that it will be performed with wax material. You may not obtain correct correction results if you use other material.
-
Measure in a short period of time, continuously, and fully.
- Wax material is affected by temperature, which makes the dimensions of this material change easily. This can lead to incorrect correction results, so we recommend that you wear gloves when handling this material.
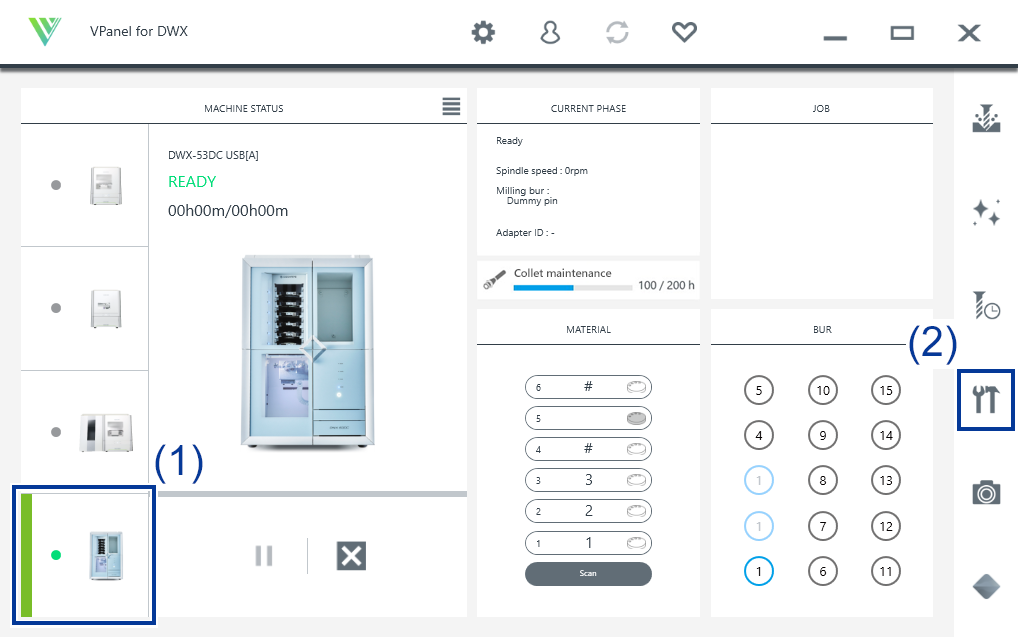
- Show VPanel.
-
Open the Machine settings window.
-
Click
 .
.
The Machine settings window is displayed.
-
Click
-
On the Maintenance tab, click Manual correction.
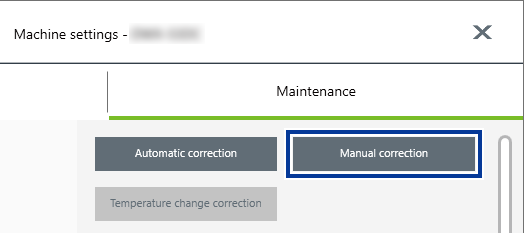
-
Follow the on-screen instructions to perform manual correction.
Use a digital micrometer to accurately measure the thickness of the milled locations. The machine automatically performs correction on the basis of the measured values entered into VPanel. For information on how to use the digital micrometer, refer to the documentation for the device you're using.
IMPORTANTIf you are milling using the ZRB-200D (4 mm [0.16 in.] radius end mill), avoid the sections indicated with red in the following figure when measuring the thickness.
The shape of the end mill tip results in 0.2 mm (7.87 mil) curved surfaces in the sections indicated with red. To accurately correct the milling position, enter in VPanel the thickness measured while avoiding these curved surfaces.

-
When manual correction is finished, click Complete.
The Manual correction window closes. Perform actual milling and check its results.