
Milling area cleaning
-
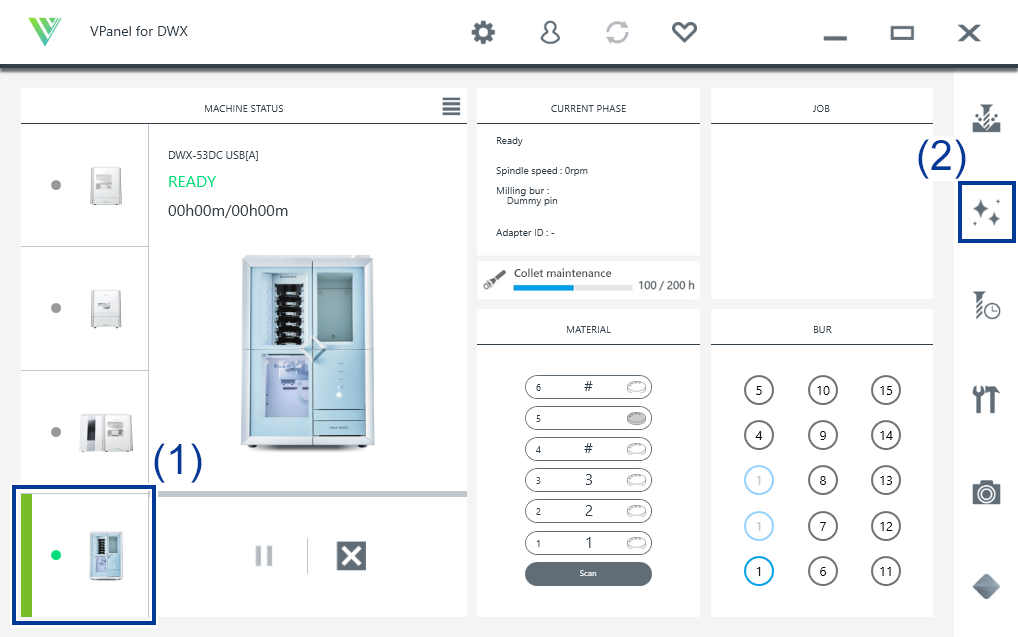
Check that the machine is in the ready status.
If the status light at the top of the machine or in the milling area is lit in blue, the machine is in standby.
Statuses Indicated by Status Light Color - Show VPanel.
-
Open the Milling area cleaning window.
-
Click
 .
The Milling area cleaning window is displayed.
.
The Milling area cleaning window is displayed.
-
Click
-
Turn the dust collector on.
-
When using a dust collector with built-in linking function
- Check that the linking cable is connected to the expansion port.
- Click Dust collector to turn it on.
- Open the milling area cover.
MEMO When the milling area cover is open, you can also turn the dust collector on by pressing the touch sensor on the built-in panel. -
When using other dust collectors
- Manually turn the dust collector on.
- Open the milling area cover.
-
-
Remove the dust-proof cover.

-
Follow the on-screen instructions to clean each part.
Use the included brush to carefully remove the milling waste. Any milling waste not removed may affect the milling quality. Use the dust collector to pick up the removed milling waste.
IMPORTANT Do not directly touch the inside of the ionizer.
-
- Front
-
Clean the clamp ().

-
- Rear
-
Use the included cloth for care to wipe off the camera cover.
If it is dirty, the captured images will be indistinct, which may make it impossible to check the milling status and the situation when an error occurs.

-
- Reverse side
-
Clean the reverse side of the clamp ().

-
- Spindle
-
Clean the tip of the spindle. Also remove any milling waste that remains in the gap between the dummy pin or collet and the milling bur holder.

-
- Disc changer
-
Clean the barcode sensor () and adapter stocker ().
IMPORTANT Milling waste affixing to the barcode sensor will prevent it from reading the adapter IDs correctly. Use the included cloth for care to lightly wipe clean the barcode sensor.
-
-
Turn the dust collector off.
-
When using a dust collector with built-in linking function
Turn the dust collector off with one of the following operations.
- Click Dust collector to turn it off.
- Press the touch sensor on the built-in panel.
-
When using other dust collectors
Manually turn the dust collector off.
-
-
Attach the dust-proof cover to the milling area.
MEMO
Attach the dust-proof cover so the handle is in the upper-right corner. Check that the magnets on the edge of the cover attach to the mounting frame.

- Close the milling area cover.
- Click Close.