


Printing with Crop Marks
Procedure
-
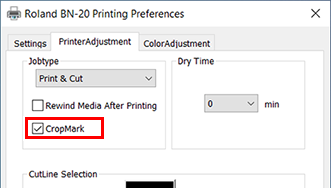
Select CropMark on the Printer Adjustment tab.
-
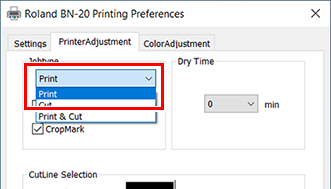
Select Print.
When Printing & Cut is selected, pull back the media after printing the crop mark to start cutting immediately. Cutting is performed by following the crop mark.
 IMPORTANT: Before you start printing, check the media size in the Settings tab of Printing Preferences Screen and write it down. When you perform cutting, set the same media size as the printing. If not, misalignment between the printing results and the cut lines might occur.
 -
Start printing.
Step 5: Starting Print Output
The crop marks are printed as shown in the figure.

- : Align point
- Ⓑ : Base point
IMPORTANT: Alignment marks and symbols drawn using a graphics program cannot be used as crop marks.