
Flushing Pad Replacement
When it is time to replace the flushing pad, the message The time for flushing pad replacement has arrived. appears. In this situation, replace the flushing pad.
For information about purchasing flushing pads, contact your authorized dealer or visit our website (https://www.rolanddg.com/).
Be sure to perform operations as specified by the instructions, and never touch any area not specified in the instructions.
Sudden movement of the machine may cause injury.
| Required items | ||
|---|---|---|
|
|
 |

|
|
Flushing pad (optimizer ink section, color ink section: 1 each) |
Cleaning stick (2) | Cleaning liquid bottle for maintenance |

- Always use separate cleaning sticks and cleaning liquid with the optimizer ink and color ink sections. If the optimizer ink and color ink mix, the ink may harden and cause discharge issues.
- Use a new cleaning liquid bottle for maintenance.
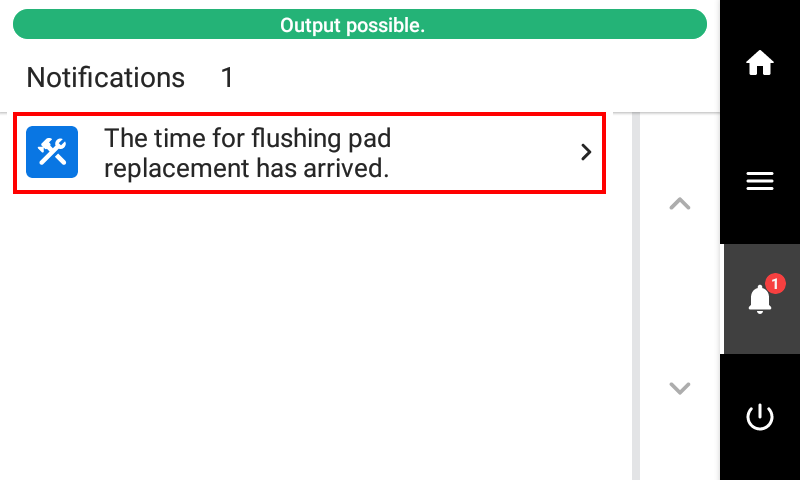
- When the message The time for flushing pad replacement has arrived. appears, tap OK.
- Remove any media.
-
Tap
 to display the messages.
-
Tap The time for flushing pad replacement has arrived..
 The Flushing Pad Replacement screen appears.
 - Tap Execute for either the target optimizer ink section or the color ink section.
- Tap OK.
-
When Open the right cover. appears, open the right cover.

-
Remove the frame to be replaced.
Place your finger on A and lift it up to remove it. If the flushing pad is attached to the frame, remove it with your finger and remove only the frame.
The following figure is an example of the color ink section Group B (CMYK).
 IMPORTANT During the work, store the optimizer ink section frame and the color ink section frame in such a way that you can identify them, so that you can install the frames in their original locations after replacement.
 -
Drip one drop of cleaning liquid onto a cleaning stick.
IMPORTANT If you add cleaning liquid while cleaning, do not dip the cleaning stick into the tip of the cleaning liquid bottle. Instead, drip the cleaning liquid onto the cleaning stick.

-
Clean off any ink on the frame.
IMPORTANT Always use separate cleaning sticks when cleaning the optimizer ink and color ink sections at the same time. Using the same cleaning stick may lead to the optimizer ink and color ink mixing, resulting in ink hardening.

-
Remove the flushing pad from the flushing receptacle.
The following figure is an example of the color ink section Group B (CMYK).

-
Attach the new flushing pad to the flushing receptacle.
To avoid damaging the flushing pad, do not use tweezers.
IMPORTANT Check the following points.- The flushing pad should be placed within the frame shown in the figure below.
There should be no flushing pad on the partition (A) with the wiper.

-
In the case of the flushing pad on the color ink section, fully soak in cleaning liquid using the following procedure.
MEMO The flushing pad on the optimizer ink section does not need to be soaked in cleaning liquid.
-
Remove the nozzle from the cleaning liquid bottle and pour the whole cleaning liquid into the flushing pad.

-
Press the tip of the cleaning liquid bottle against the flushing pad, and then soak the flushing pad in cleaning liquid all the way to the bottom of the pad.
Press the cleaning liquid bottle until the cleaning liquid soaks the entire flushing pad.

-
Remove the nozzle from the cleaning liquid bottle and pour the whole cleaning liquid into the flushing pad.
-
Attach the frame.
IMPORTANT Install the optimizer ink section and color ink section frames in their original locations.
-
Insert the hook (A) into the back.

-
Lower the front of the frame.
The following figure is an example of the color ink section Group B (CMYK).

-
Insert the hook (A) into the back.
- When the work is complete, tap Finish All.
-
When Close the cover. appears, close the right cover.
 When you close the right cover, you are returned to the original screen.
 -
Tap
 to go back to the original screen.