
Printing Specific Layers of the Print Data
For print data in PDF format with a layered structure, each layer can be separately set to be printed or not printed. When creating the print data with design software, create multiple layers in advance. Doing so will allow setting of whether or not to print a white plate for each media color, and separate the cutting lines by layer and set whether or not to perform cutting.
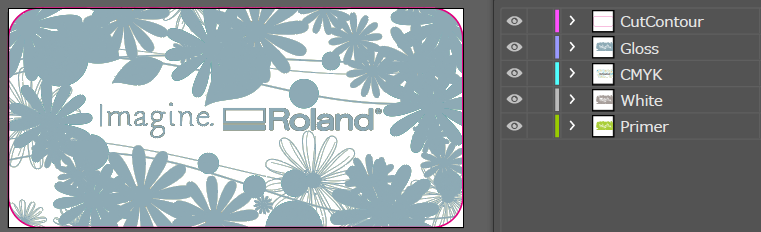
| Layer | Contents | Image |
|---|---|---|
| 1 |
Cutting line This is used when cutting media with a printer that includes a cutting function. |
 |
| 2 |
Gloss This is used with a printer that includes gloss. It is used with gloss finish: GlossVarnish, matte finish: MatteVarnish, embossing: Embossing, and other printing. |
 |
| 3 |
CMYK Prints using CMYK ink. |
 |
| 4 |
White This is used with a printer that includes white. It is used to produce the original CMYK color that is unaffected by the color of the media. |
 |
| 5 |
Primer This is used with a printer that includes primer. It improves ink adhesion onto the media (object being printed on). |
 |
Step 1: Creating Print Data
When creating a spot color layer, refer to the following to create the spot color layer on a layer other than a CMYK layer.Printing Using White Ink/Gloss Ink/Primer/Metallic Silver Ink/Structural Ink
When creating a cutting layer, refer to the First Step Guide to create the cutting layer on a layer other than a CMYK layer.
- Locked layers in the print data will be printed. There is no way to change the settings to prevent the layers from being printed.
- You can only change whether to print each layer for PDF-format print data.
Step 2: Printing Specific Layers
- Add the created print data to the job list.
- Use one of the methods below to display the Job Assistant window.
- Right-click on an added job and click .
- With an added job selected, click
 on the left side of the job tool area, and then click
  Job Assistant.
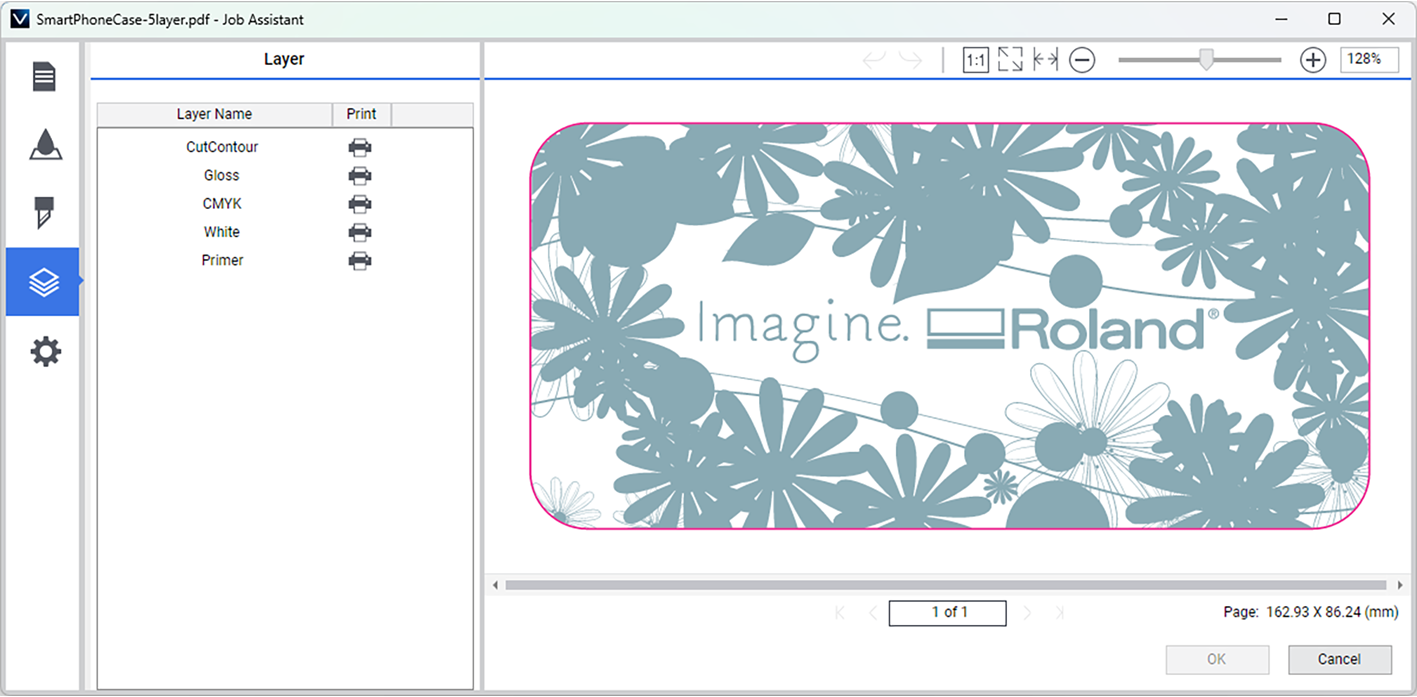
- Click
 .The name of the layer in the print data is displayed in Layer, and an image of the top layer is displayed in the preview window.
 - Click the
 icon to the right of a layer that will not be printed.The icon will be displayed with shading (
 ), and the layer will not be printed.
 - Click OK.
- In the confirmation window, click Yes.The Job Assistant window closes. It will be added to the job list as a new job.
- Configure the printing settings according to each layer to be printed.
- Perform printing.Processing by the RIP and printing are performed.