Windows Client
Procedure
- Make sure the RIP server is running, and then log on to an account with "Administrators" rights.
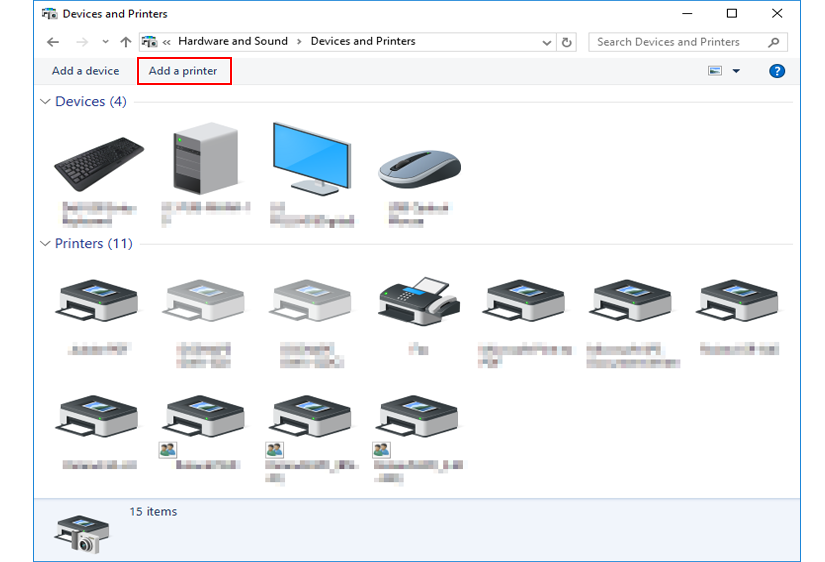
- Display the Devices and Printers window.
- Windows 11
- Click .
- Double-click Control Panel.
- Click View devices and printers.
- Windows 10
- Click .
- Click View devices and printers.
- Windows 11
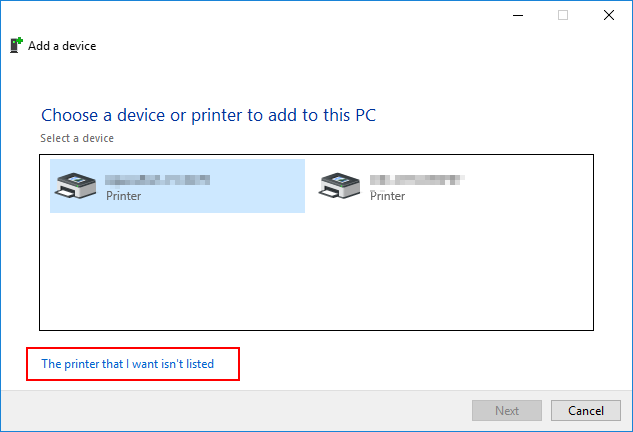
- Click Add a printer.
- Click The printer that I want isn't listed.
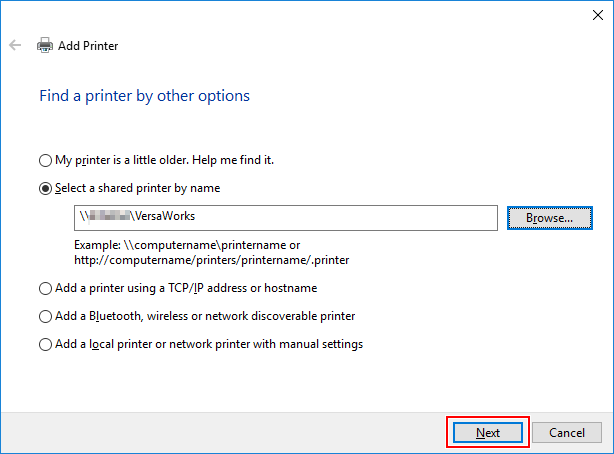
- Select Select a shared printer by name, and then click Refer to.
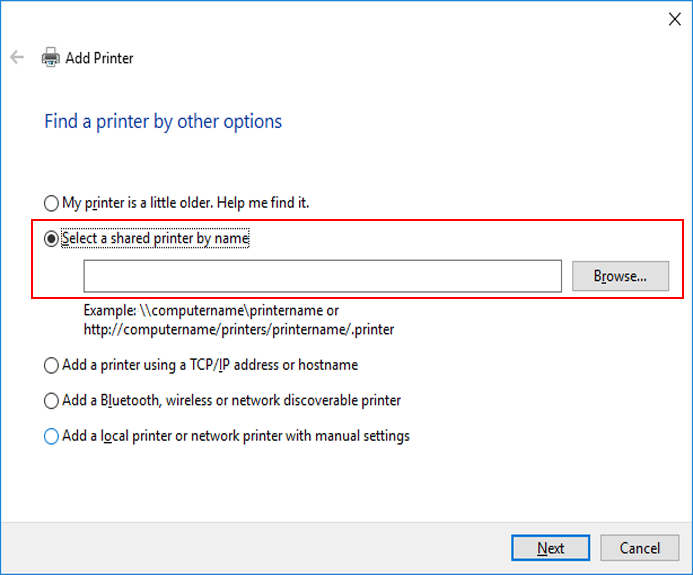
- Select the RIP server computer, and then click Select.
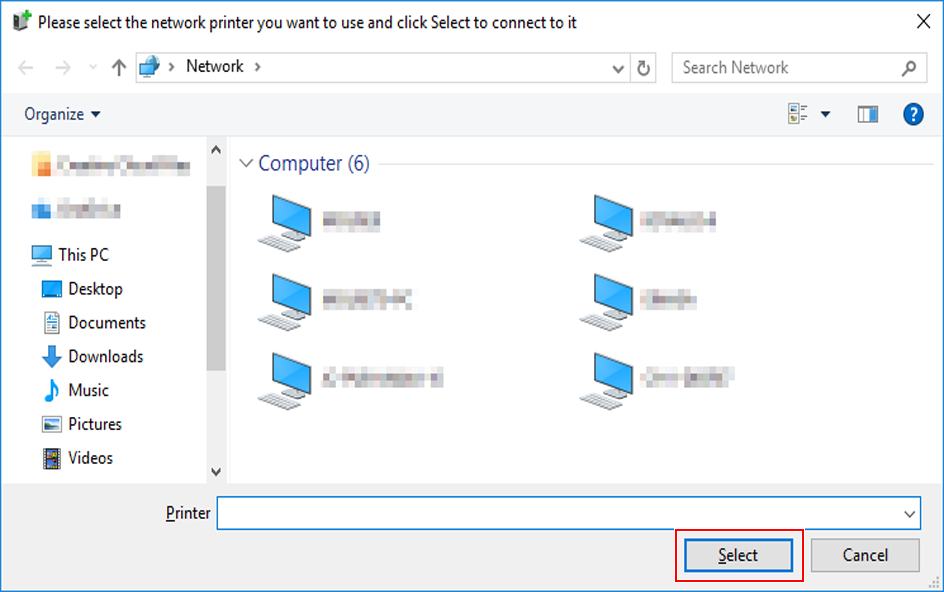
- Select VersaWorks (or the nickname that has been set), and then click Select.

- Click Next.
When the window confirming that you trust the printer appears, click Installing the Driver.
When the User Account Control window appears, click Yes (or Allow).
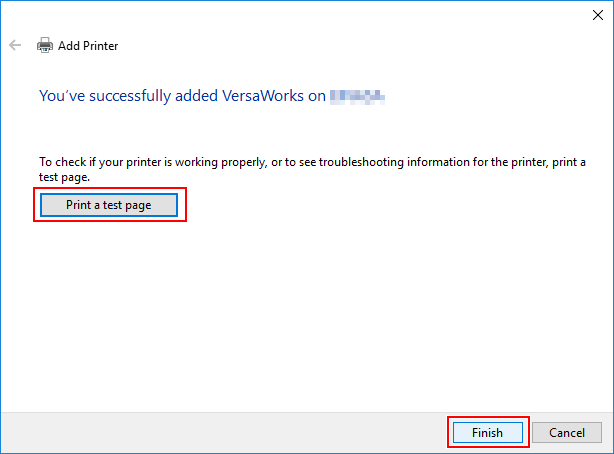
If the following window appears, the printer is added. Click Next.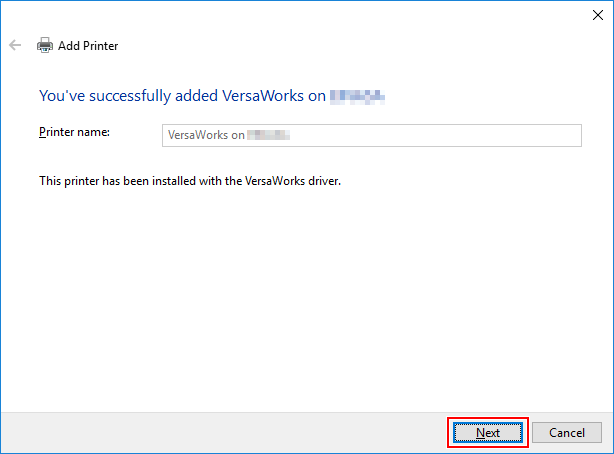
- Click Finish.
If you want to perform a printing test, click Print a test page.
* If the Set as the default printer check box is displayed, clear this check box according to your situation.