
Printing the Job Properties
Procedure
-
Click
 for the queue folder that you want to use.
The Queue Properties window appears.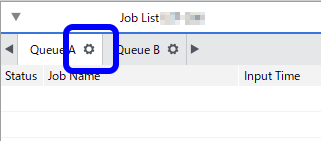
- Click
 .
. - Select the Print Job Properties check box under Job Property Label.When you select this check box, the model name and serial number of the printer as well as the job name will be printed. This also makes it possible to select whether to print the items shown below. Select the check boxes for the items that you want to print. The details that are printed when these items are selected are shown below:
Option Description File Name File name Layout Number of copies and scale Quality Settings Current quality settings Color Settings Details of the Color Settings Printer Color Match Information of the color match between the reference color and the target color File Format Settings of the spot colors and special colors (only when the conversion is enabled) Device Controls Feed calibration (only when Use Printer Settings is not selected) Job Management Job handling after printing Clip and Tile Location of the tile (clipped location and tile size for a clipped image)
Spot Color Spot color plate generation or correction Date/Time Date and time that the job was processed Notes Text entered in the input field - Click OK.
- Add the job to the job list, and then start printing.The selected job properties are printed under the image.MEMO You can also configure the same setting in the Job Settings window. You can use the preview in the layout area to check where the job properties will be printed.