9. Camera settings
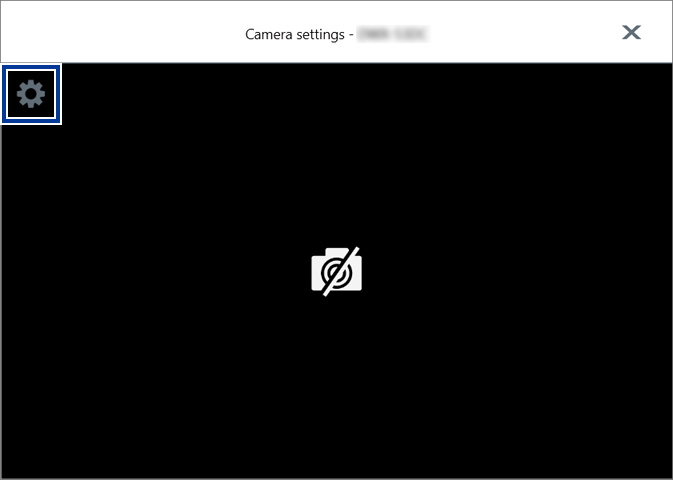
You can use the Camera settings window to check the operation status of the machine, change the camera settings, and perform similar operations. When you select the camera to use, recording starts at the same time as milling.
The following two videos are automatically saved on the local PC only when an error occurs.
- The video from the start to the end of milling
- The 40-second video from 30 seconds before and 10 seconds after the error
These videos can be used to identify the cause of the error.
If the email settings have been configured, a link to the 40-second video from before and after the error is included in the notification email. This video can also be checked from the link in this email.
To change the camera settings, click  .
.

- Camera
- Use the pull-down list to display the cameras connected to the PC. Select the camera installed on the target machine.
- Resolution
- Changes the resolution of the camera selected with Camera. When a camera is selected, the lowest usable resolution is selected. MEMO The following resolutions are supported.
- Width: 640 to 1280
- Height: 480 to 720
- Invert
- Select these check boxes to invert the image of the connected camera vertically, horizontally, or in both directions.
- Recording
-
- Storage capacity
- You can move the slider to set the amount of space to use for the recorded data. If this set amount is exceeded, recorded data is deleted in order from the oldest to the newest data.
- Open Folder
- Opens the folder in which to save the recorded data.
- Preview window
-
Displays the image of the camera selected with Camera.
Figure 1. Normal operation 
Figure 2. Error 
- A: Date and time
- The date and time are displayed in real time during capturing.
- B: Error code
- The error code is displayed only when an error occurs.
 to disconnect the selected camera. To connect this camera again, select the