
Setting a Fixed IP Address
If the automatic assignment of the IP address from a DHCP server fails or if you want to set an IP address that does not change, enter a fixed IP address.
IMPORTANT
In an environment where the printer is connected to multiple network devices and the Internet, inappropriate settings will have a large effect on the entire network. For detailed information about the settings, consult your network administrator.
Procedure
-
Tap
 .
.
- Tap .
- Tap Obtain IP Address Automatically to set it to Disable.
-
Tap
 to the right of IP Address.
The numeric value input screen appears.
to the right of IP Address.
The numeric value input screen appears.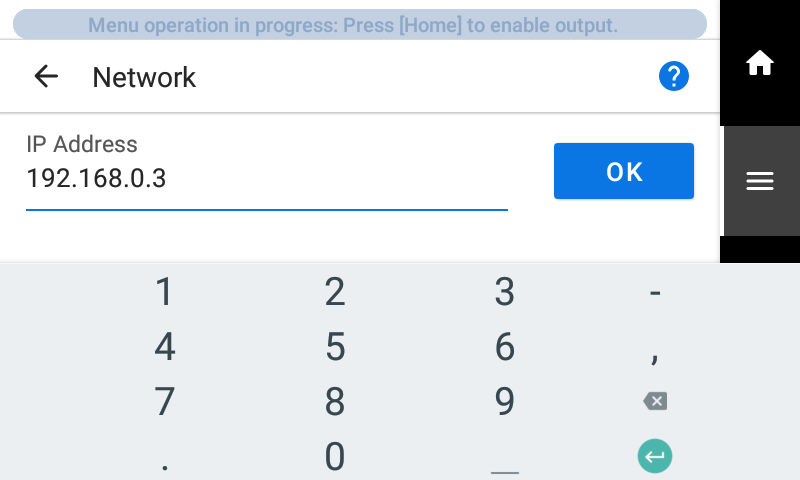
-
Enter the IP Address value.
For the IP address, contact your network administrator.
- Tap OK.
-
Tap to the right of Subnet Mask.
The numeric value input screen appears.

- Enter the Subnet Mask value.
- Tap OK.
-
Tap to the right of Default Gateway.
The numeric value input screen appears.
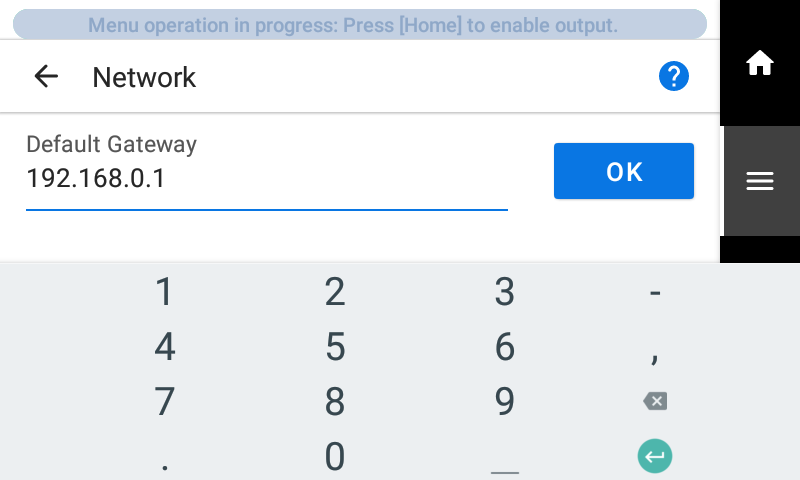
- Enter the Default Gateway value.
- Tap OK.
- Tap Save.
-
Tap
 .
The home screen appears.
.
The home screen appears.