
Normal Cleaning Method
Procedure
-
Check for the group with dot drop-out or dot displacement by viewing the results of the printing test.
The gloss, white, and primer strokes are in Group A, and the yellow, black, cyan, and magenta strokes are in Group B.
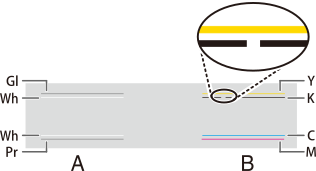
MEMOIf the printing-test results are difficult to interpret
Try changing the test paper color, or check the results in a bright location while changing your line of vision. They are visible using the reflection of the light.
-
Tap
 on the operation panel.
-
Tap .
The screen shown below appears.
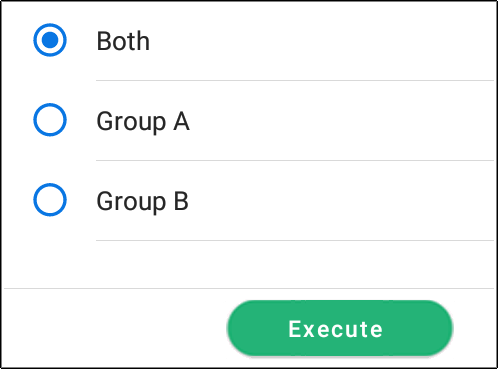
- Select the group of print heads to clean.
- Tap Execute.Cleaning will start. The details of the operation in progress and the (approximate) remaining time of that work are displayed in the status bar at the top of the screen.
When the work is finished, the status bar returns to its original display.
-
Tap
 .
.
- Tap Printing Test.
-
Tap Execute.
Perform a printing test again to check whether the dot drop-out and dot displacement have been corrected.MEMO
If the problem persists, try performing Normal Cleaning again. If the printer has been used for a long period, dot drop-outs may not be fixed even after performing Normal Cleaning two or three times. If this is the case, clean using a different method.