
Setting the IP Address on the Computer (Windows)
IMPORTANT
In an environment where the computer being used is connected to multiple network devices and the Internet, inappropriate settings will have a large effect on the entire network. For detailed information about the settings, consult your network administrator.
The method introduced here for setting the network settings applies to the following Windows versions. Even with the same version, the operation steps, button names, and window titles may differ depending on the OS build.
- Windows 11:
Version 24H2
- Windows 10:
Version 22H2
Procedure
- Log on to Windows as the Administrator or a member of the Administrators group.
-
Open Control Panel.
Search for Control Panel from the taskbar.
- Click Network and Sharing Center.
- Click Ethernet or Wi-Fi.
-
Click Properties.
If a User Account Control window appears, click Continue.
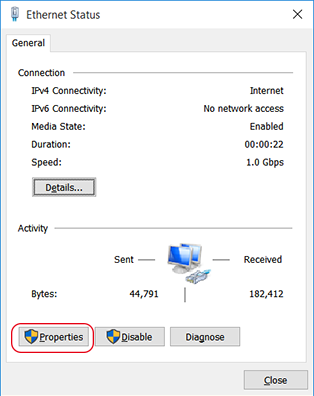
The Ethernet Properties or Wi-Fi Properties window appears.
-
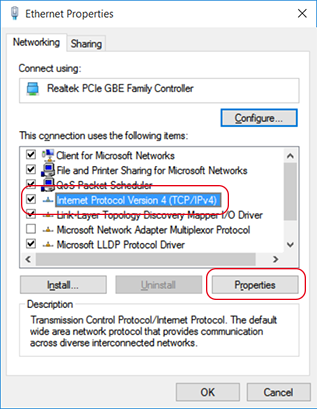
Select Internet Protocol Version 4 (TCP/IPv4), and then click Properties.
If the Internet Protocol check box is clear, select it.
-
Configure the following settings.
- Click Use the following IP address.
- Enter the IP address, Subnet mask, and Default gateway.
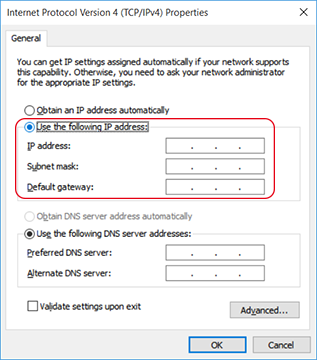
- Click OK.
-
Click the following buttons to return to the original state.
- Close in the Ethernet Properties or Wi-Fi Properties window
- Close in the Ethernet Status or Wi-Fi Status window