5 Set the print area.
-
Press ▲, ▼, ▶ or ◀ when the following screen appears.
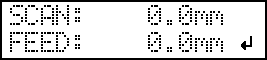
The flat table and the print heads move so that the pointer points at the previously set printing base position. -
Press ▲, ▼, ▶ or ◀ to move the pointer until it points to a position in the center of the print area.

MEMO:When the pointer is difficult to see
Depending on the material of the object to be printed on, such as transparent media or high-gloss media with dark colors used on the print surface, the pointer may be difficult to see. In such cases, the pointer may become more visible by placing masking tape on the print surface or on the back.
-
Press ENTER.
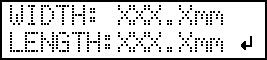
The print heads return to the home position and the following screen is displayed.
MEMO:-
The previously set values are displayed for "WIDTH" and "LENGTH."
-
When the object to be printed on comes into contact with the head gap sensor, the setup is canceled and the screen shown below appears. Redo from 4 The height of the object to be printed on is detected automatically..
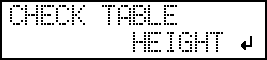
When "CLEARANCE MODE" is set to RE-ADJ (Enabling Automatic Height Adjustment during Printing), the setup is not canceled and operation continues.
-
-
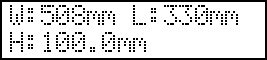
Make sure the "W" (width), "L" (length), and "H" (height) values on the menu screen are as intended.
MEMO:-
If you want to use the print area specified here for the next printing operation, switch "SET AT SETUP" (Omitting the Setting of the Print Area) to DISABLE. With this setting, you can set up the object to be printed on without setting the print area and base position.
-
Automatic return is not possible for a set base printing position (home position). In other words, the setting must be configured again if the base printing position (home position) differs, such as when selecting a new object to be printed on.
-