
Correcting the Misalignment of the Printing and Cutting Positions during Cutting
If the printing and cutting positions are misaligned, you normally adjust the positions while checking a test pattern.
Procedure
-
During cutting, press [PAUSE] to display the screen shown below.
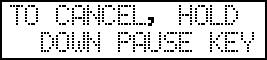
The cutting operation is paused. -
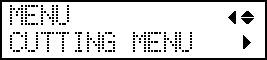
Press [▲] to display the screen shown below.
-
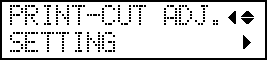
Press [▶] twice, and then press [▼] once to display the screen shown below.
-
Determine the correction values.
MEMO:
Determine the values so as to correct the misalignment of the cutting position (
 ) in relation to the printing position (
 ). In the case of the following figure, feed direction "F" is misaligned in a negative direction and scan direction "S" in a positive direction. Therefore, set the correction values for the feed direction "F" to positive values and the scan direction "S" to negative values. Measure the actual misalignment amount when determining the value.
-
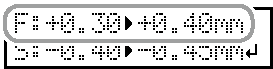
Set the correction values for the feed direction "F" and the scan direction "S."
-
Press [▲] or [▼] to set the correction value for the feed direction (F).
-
Press [◀] or [▶] to set the correction value for the scan direction (S).

-
Press [▲] or [▼] to set the correction value for the feed direction (F).
-
Press [PAUSE] to display the screen shown below.