Step 7: Cutting
WARNING
Never touch the cutting carriage while output is in progress.
The cutting carriage moves at high speed. Coming into contact with the moving carriage may cause injury.
Procedure
-
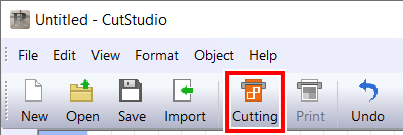
Click
 .
.
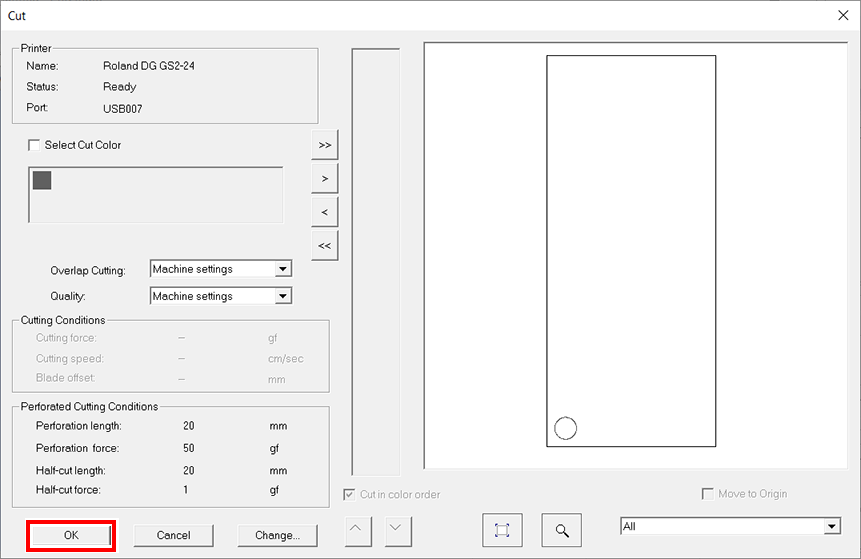
The Cut window is displayed.

-
Click OK.
The Print & Cut data is sent to the machine. When the machine receives the Print & Cut data, it automatically reads the crop marks using a sensor, and then starts cutting.
 MEMO
MEMOIf the sensor fails to read the crop marks, the screen shown below appears.
If the following screen appears, refer to Crop Marks Are Not Detected to resolve the error.
If that does not resolve the issue, switch to Tool Mode, and then perform aligning.Print & Cut in Tool Mode

- Remove the cut material.
