Referring to the Menu Flow Chart as you proceed will help the setting procedure go smoothly.
(1) Select Manual Mode
Procedure
- Press [MENU] several times to display the screen shown in the figure.

- Press [
 ] several times to display the screen shown in the figure.

- Press [
 ].
].

- Press [
 ] to select MANUAL.

- Press [ENTER].

- Press [] twice.

(2) Enter the Distance between the Crop Marks
Enter the values that you made a note of in Step 1, No. 3.
| WIDTH | ||
 |
LENGTH |
|
Procedure
- Press the [] key, and then press the [] key to display the screen shown in the figure.
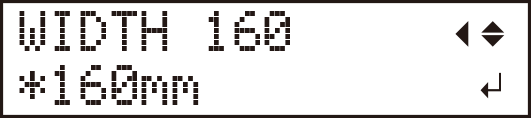
- Use [] and [] to enter the horizontal distance (WIDTH) between the crop marks.
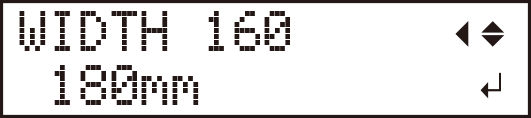
- Use [ENTER] to select the setting.

- Press the [] key, and then press the [] key.

- Use [] and [] to enter the vertical distance (LENGTH) between the crop marks.

- Use [ENTER] to select the setting.

- Press the [] key, and then press the [] key.
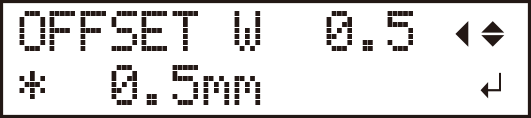
- Use [] and [] to enter the amount of cutting line misalignment (in the width direction).

- Use [ENTER] to select the setting.

- Press the [] key, and then press the [] key.
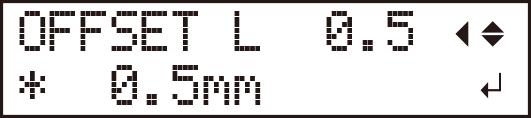
- Use [] and [] to enter the amount of cutting line misalignment (in the length direction).

- Use [ENTER] to select the setting.

(3) Enter the Offset Values
Enter the values that you made a note of in Step 1, No. 4.
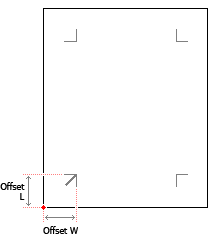 |
If you want to further reduce the misalignment after seeing the result of printing and cutting, measure the amount of cutting line misalignment, and then add this measured value to or subtract this measured value from the offset values.
Set the values as required.
Procedure