
Reattaching to the Printer
Remove the front UV shield to attach the extension table.
Procedure
- Turn on the sub power if it is off.
- Open the front cover.If the media has not been removed, remove it now.
- Remove the screws (in two locations), and then remove the front UV shield.
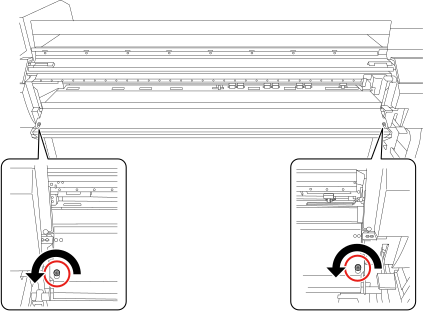
Lift the front UV shield and pull out the left and right pins from the slits.
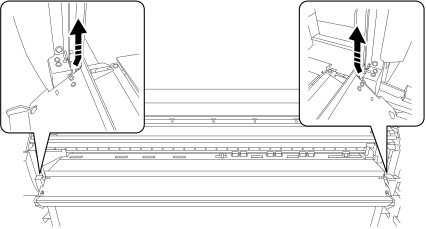
The two removed screws will be used later to secure the extension table (front side).
- Attach the (front) extension table.Insert the left and right extension table pins into the slits indicated in the figures.
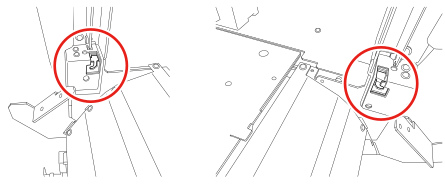
- Attach the screws (two locations) to secure the extension table (front side).
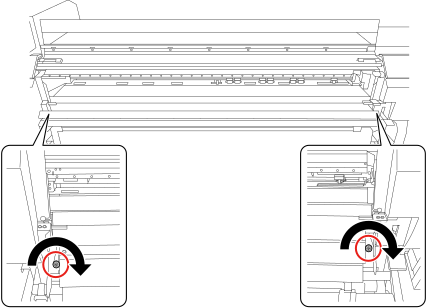
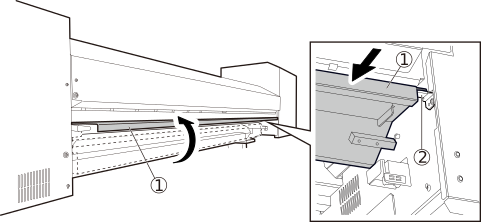
- Open the rear UV shield on the back of the printer.
- Open the rear UV shield ().
- Push the rear UV shield to the front of the machine, and then place this shield on the left and right stoppers ().
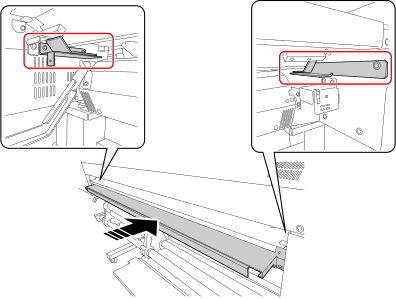
- Insert the (back) extension table.Slide the table over the guides indicated in the figure and insert as far as it will go.
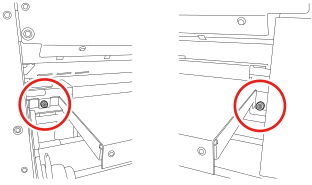
- Attach the screws (two locations) to secure the extension table (back side).Use the screws removed when removing the back extension table.
- Set Extension Table to Enable.
- Tap
 on the printer's operation panel.
 - Tap
 .You are returned to the home screen.
- Tap