
Step 1: Filling the Machine with Ink
Use Utility to operate the machine.
Procedure
- Close the front cover.
- Turn on the main power switch.

- Press the sub power button.
When the sub power button indicator changes from flashing to steady, startup is finished.
MEMOAfter turning on the main power, wait some time before pressing the sub power button.
Firmware initialization starts when the main power is turned on, and there will be no response when pressing the sub power button until initialization is complete.

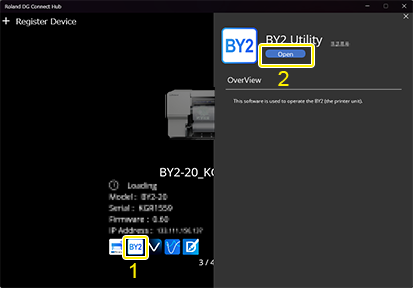
- Start Utility from the Roland DG Connect Hub home screen.
- Click the Utility icon.
- Click Open.
- When the Operation Guide window appears, click Next.
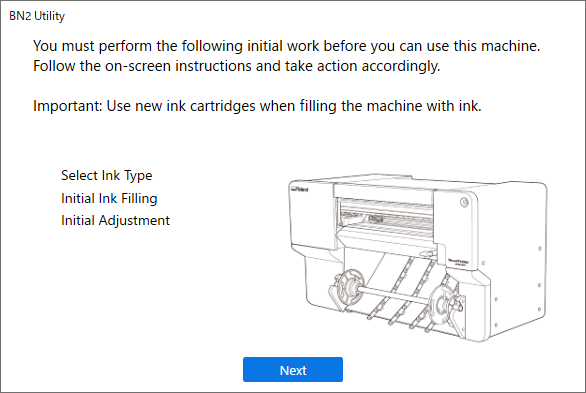
- Select the type of ink being used for filling, and then click Next.

- When the ink type confirmation window appears, click Next if everything looks OK.
- When the window for starting ink filling appears, click Next.
- Follow the on-screen instructions to shake the ink cartridge, and then click Next.
- Insert all of the ink cartridges into the ink slots until a beep is heard.Be sure to insert the ink cartridges into the ink slots with the same colors as the ink labels.

- When the The ink tanks have been filled. Click [Next]. window appears, click Next.