Procedures from Preparing to Move to Reinstallation
Procedure
- Start Utility.
-
Click
 .
.
-
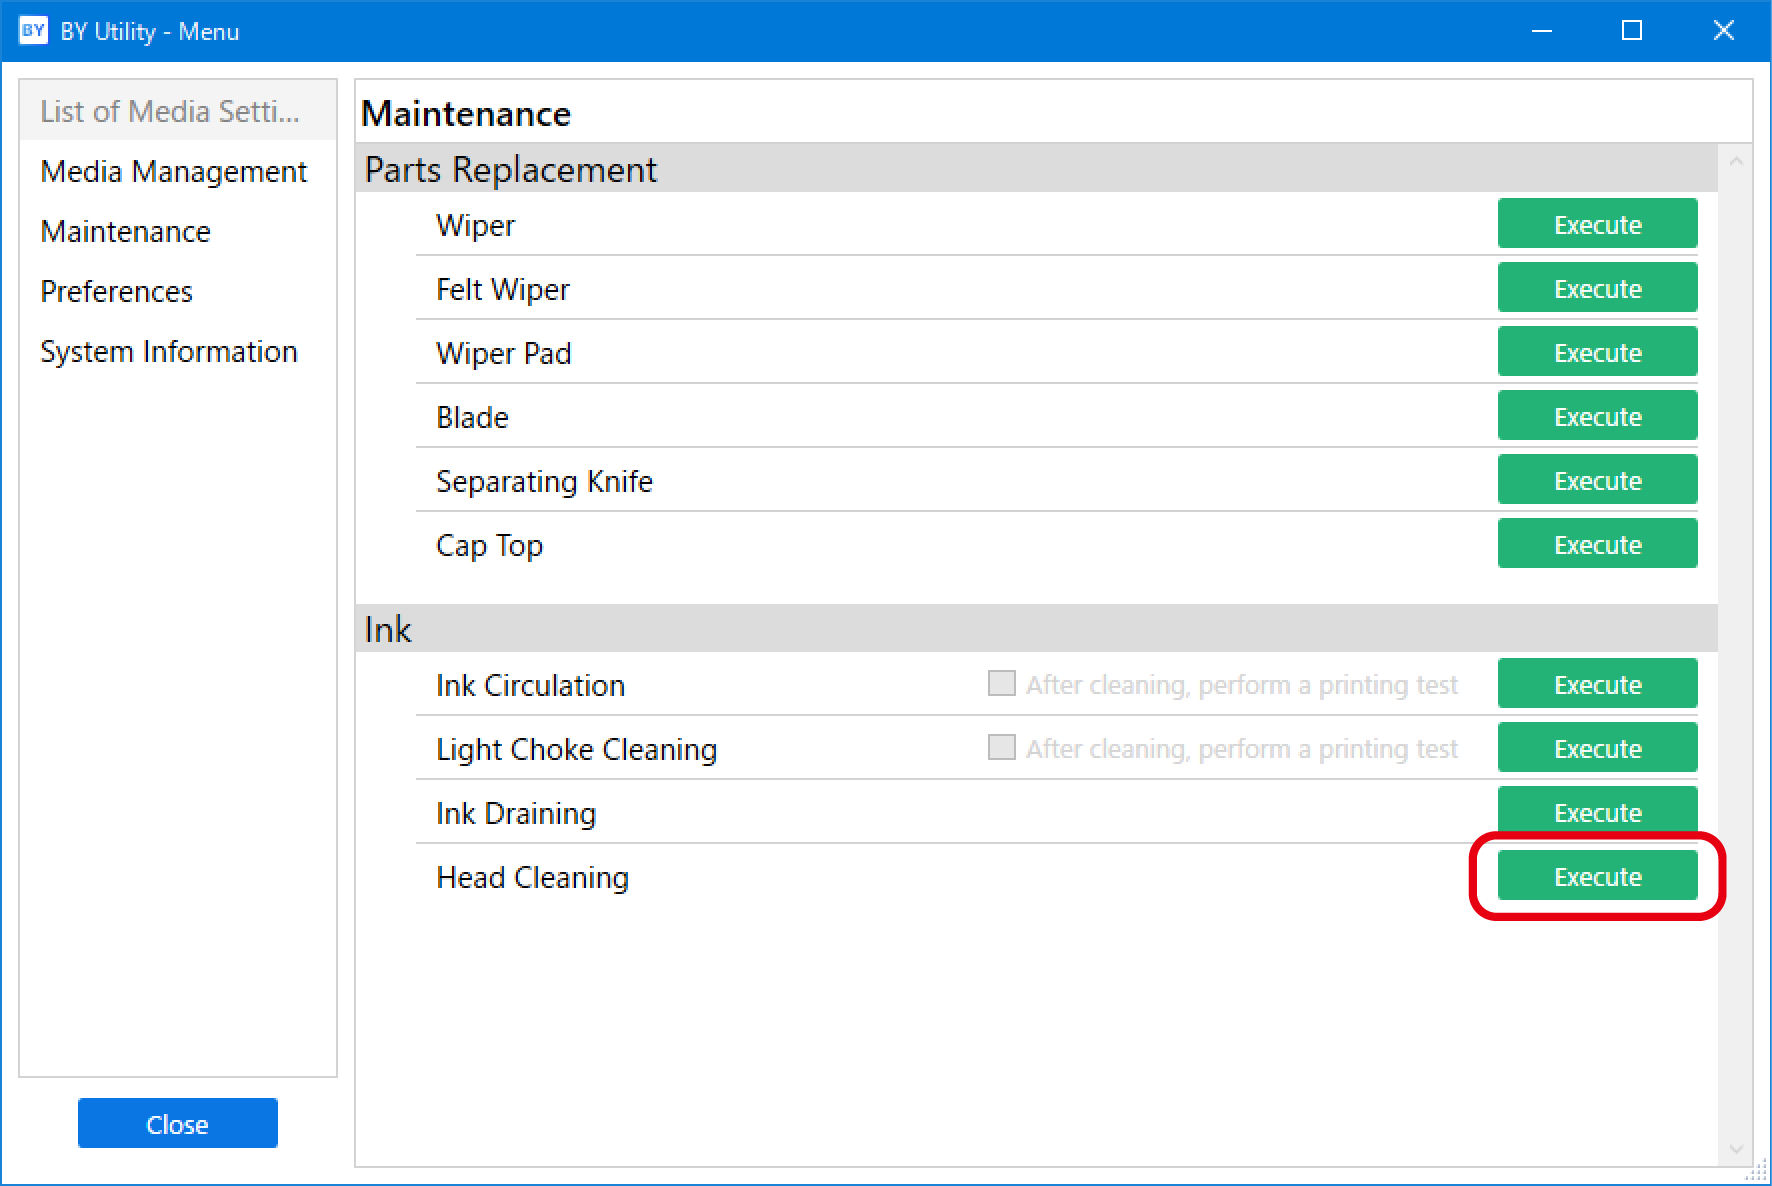
Click Execute under .
Proceed with the work by following the on-screen instructions. Do not switch off the power until the work is completed.

- Close any covers that are open.
- Turn off the sub power, and then switch off the main power.
-
Secure the print-head carriage with a retainer.
- Move the machine as soon as possible.
- After moving the machine, immediately install it.
-
Remove the print-head carriage's retainer.
- Turn on the main power, and then switch on the sub power.
-
Fill with ink.
After reinstalling the machine, a message prompting you to fill it with ink appears when you start Utility. Follow the on-screen instructions to promptly carry out the ink filling.
IMPORTANTImportant notes on moving
- Once the preparations for moving are complete, move the machine and fill it with ink with as little delay as possible. Leaving the machine alone without ink may damage the print heads.
- When moving the machine, keep it at a temperature of 5˚C to 40˚C (41˚F to 104˚F) and at a humidity of 20%RH to 80%RH (with no condensation). Failure to do so may result in malfunction.
- Handle the machine with care when moving it, keeping it level (not tilted at an angle) and preventing it from striking other objects.
