
Separating the Media
Separate the media with Sheet Cutting after printing. Alternatively, perforate the media without separating it with Perforated Sheet Cutting.
Before using Sheet Cutting or Perforated Sheet Cutting, check that the left and right media clamps are attached correctly.
Check that the left media clamp is positioned correctly above the media.
If it is not positioned correctly, uncut areas may remain on the media or the media may be jammed due to it getting caught in the machine.
- Close the front cover.
-
If necessary, use the following procedure to set the separation position.
-
On the home screen, click
 Move.
Move.
-
Click
 or
or  to set the media to the separation position.
The media separation position is the blade protector position () in this situation. During actual operation, the set separation position is fed to the position of the separating groove (), and the media is separated. Use the notch on the left media clamp as a guideline for this position.

-
On the home screen, click
-
Click
 Sheet Cutting.
-
Select the sheet cutting method, and then click OK.
Sheet Cutting
This separates the media. Perforated Sheet Cutting
The media is perforated without being separated. 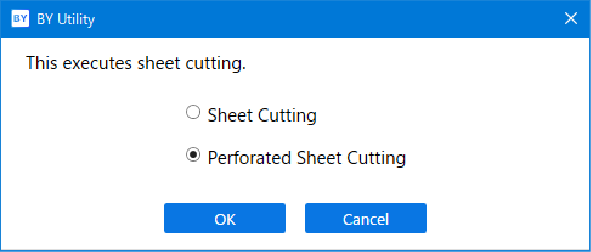 IMPORTANTSeparation Operations
- If the distance from the end of the media to the separation location is short, separation may not be performed smoothly.
Give Attention to the Media Composition- For some types of media, separation is not possible.
- Some types of media may remain on the platen after separation. If the media remains on the platen, remove it by hand.