
Printing Only the Crop Marks
MEMO
Use the following link to view a reference video for this procedure. We recommend that you view this video to understand the overall flow of work.
https://vimeo.com/1003475368/aff4a7e5a5Procedure
-
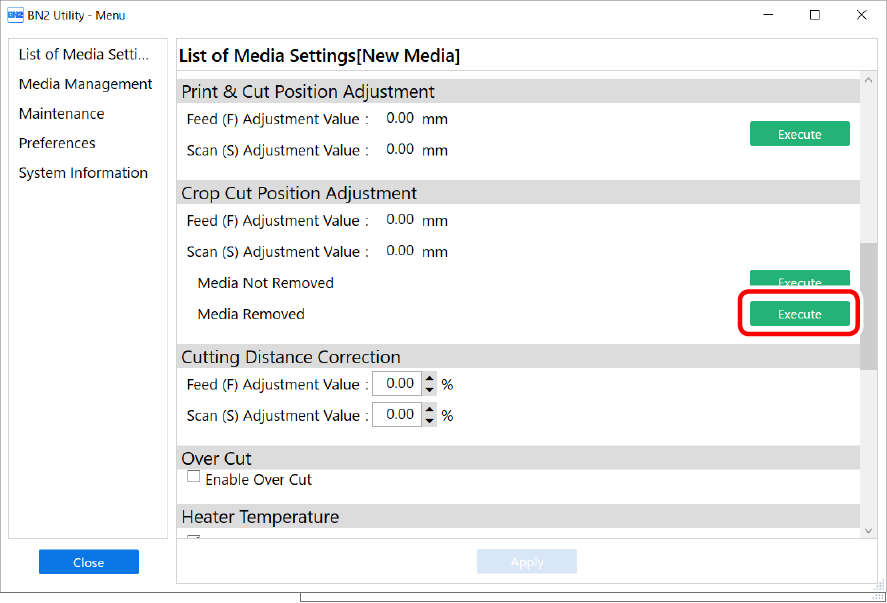
Click
 .
.
-
Click Execute under .
-
Click Printing Output.
Printing of the test pattern starts.
The crop marks are printed. When printing is finished, you will return to the original screen.
-
Remove any media.
Use the following procedure to separate the media.
-
Click
 to feed the media until there is a margin of 100 mm (3.94 in.) or more after the printed crop marks.
-
Click
 to return to the previous screen.
-
Click
- Complete operations before cutting output for normal cutting with crop marks, such as laminating.