Ink activation

When refilling ink, use the Ink ID printed on the ink bottle label and perform ink activation.

Procedure
  1. Access http://124.71.46.129:8089/user/#/home.

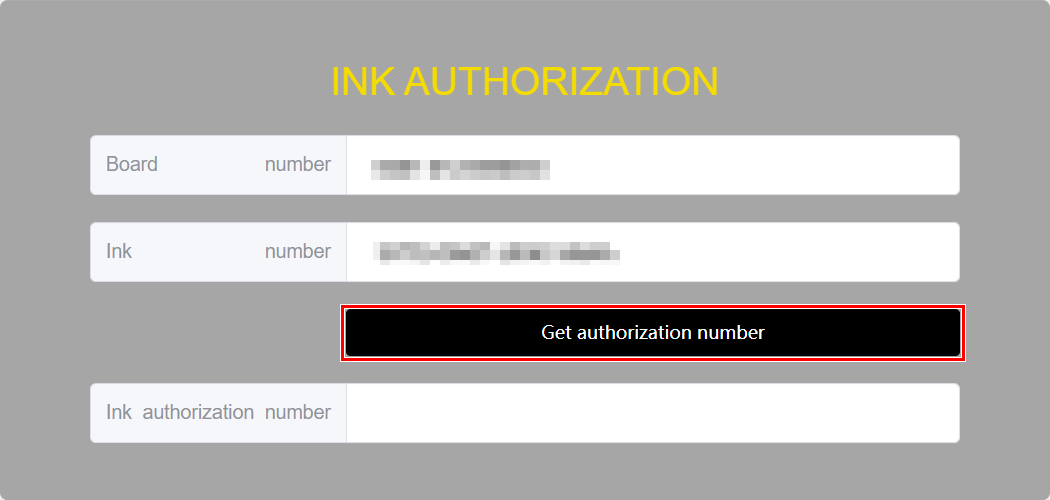
    The INK AUTHORIZATION screen appears.

    MEMO

    To change the display language, select from the pull-down menu at the top right of the screen.
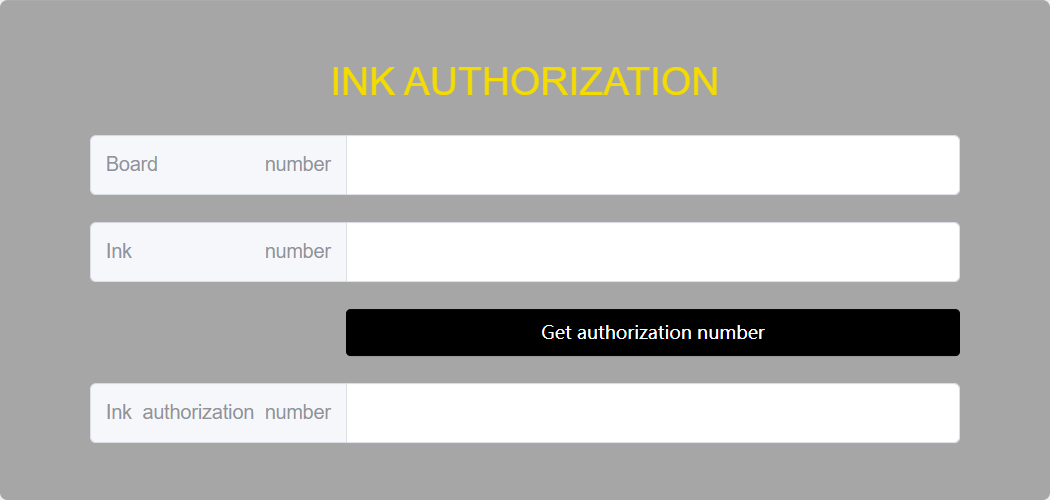
    InkAuthorization
  2. Acquire the Ink authorization number.
    1. Enter the Board number.

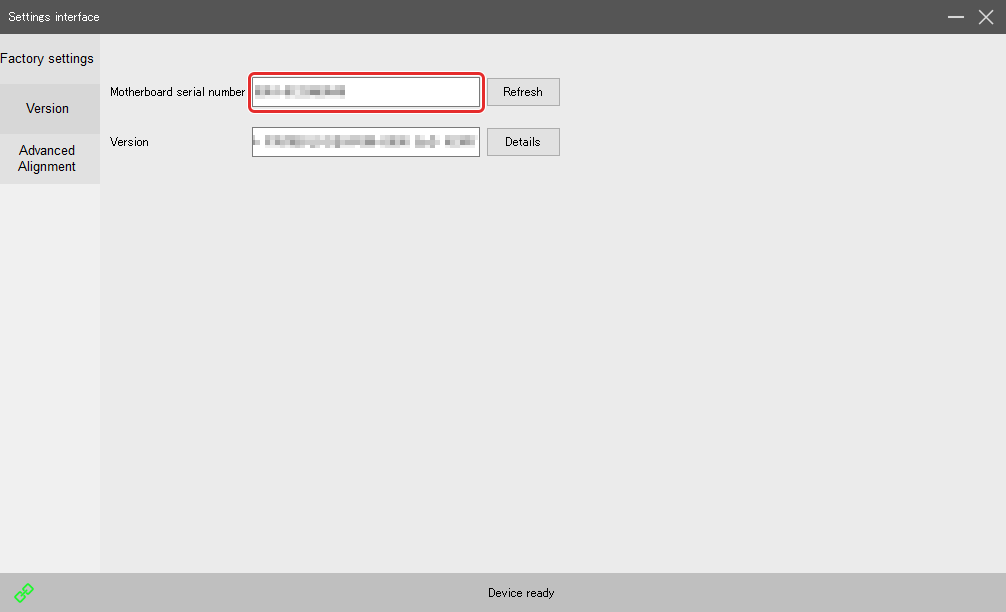
      The Board number can be checked by starting Future RIP.

      Click Driver Settings - Advanced - Version in sequence, and make a note of the Motherboard serial number.

      DriverSettingInterface
    2. Enter the Motherboard serial number in the Board number window on the INK AUTHORIZATION screen.
    3. Enter the ink bottle Ink ID in the Ink number window.
      MEMO

      The first alphabet letter of the Ink ID indicates the ink color.

      INK_ID
    4. Click Get authorization number.

      The Ink authorization number is acquired.

      InkAuthorization2
  3. Enter the Ink authorization number into Future RIP.
    1. Start Future RIP.
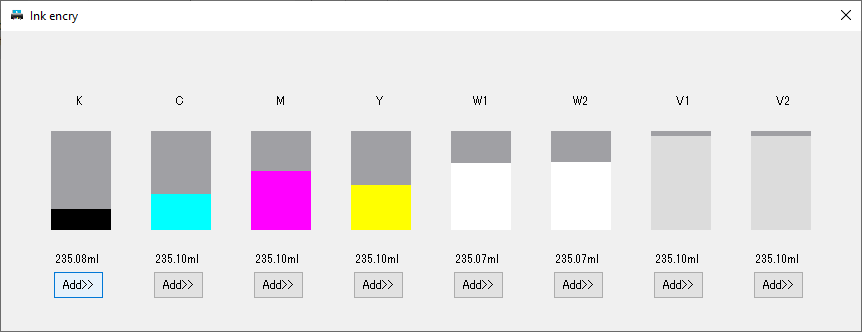
    2. Click Driver Settings - Advanced - Advanced Settings - Ink encryption in sequence.

      The Ink encry screen appears.

      RemainingINK
    3. Click Add>> for the ink tank where ink refill was performed.
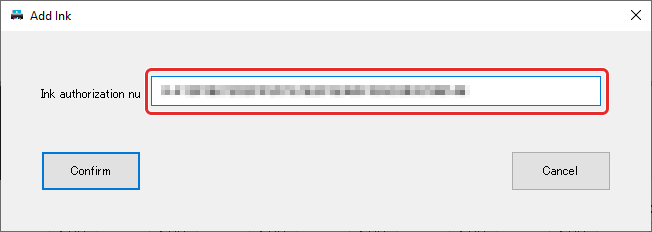
    4. Enter the Ink authorization number that was acquired in step 2 in the Add Ink screen.
      InputActivationCode
    5. Click Confirm.
      The Add ink to confirm screen appears.
    6. Click Confirm.
    7. When the Added successfully! Reset ink successfully screen appears, click Confirm.
      When the Ink licensing success screen appears, ink activation is completed.
  4. Repeat steps 2 and 3 and perform ink activation for the ink tanks where ink refill was performed.
    MEMO

    Ink activation must be performed for each ink tank where ink was refilled.