
Step 1: Creating Printing Data
Measure the printing size of the object, set the printing area, and then create print data.
MEMO Follow the procedure below to operate FlexiDESIGNER Ver. 22.0.0, build number 4176. Operation methods may vary depending on the version of FlexiDESIGNER.
Procedure
-
Measure the printing area (print surface of the object).
This is necessary to set the printing area. Make a note of the measurement when you take it. The printing area of the acrylic stand is 130 mm (5.12 in.) wide and 90 mm (3.54 in.) long when placed horizontally. Put the cropped photo and message in this printing era, mirror it, and then print it.
-
Start FlexiDESIGNER.
-
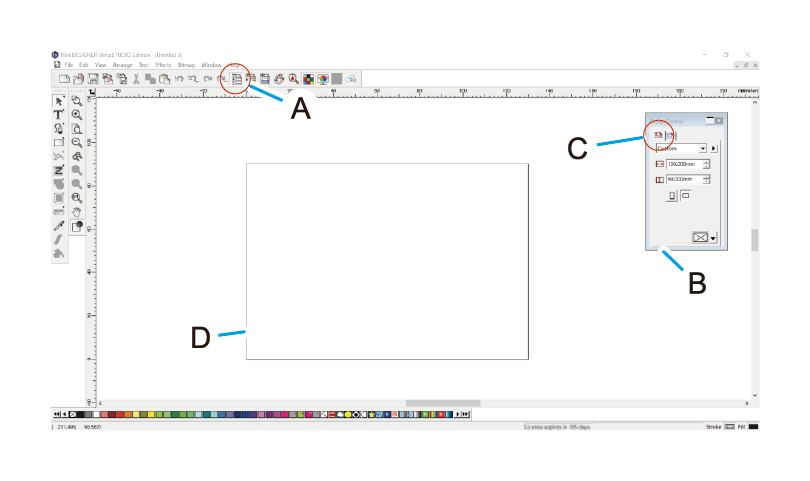
Set the printing area according to the procedure below.
-
Click the
 icon (A).
The DesignCentral dialog box (B) opens.
icon (A).
The DesignCentral dialog box (B) opens. -
On the
 tab (C), click the pull-down menu [▼], and then select Custom.
-
Click the
-
Create data for printing.
Here, the photos are imported, sized, and trimmed. The message is then added, the photo and text are mirrored, and then a white plate is created to prevent the colors of the printed object from showing through.
-
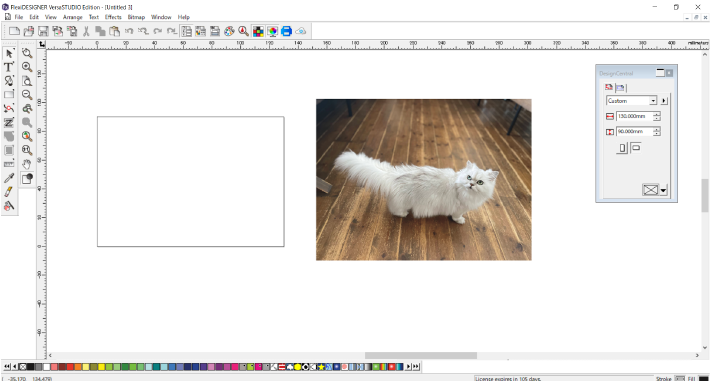
Click the desired location, and then paste the photo data into the design area.
MEMO If the photo data size is large, use
 Zoom Out or "Ctrl + Scroll" or other means to view the entire photo data.
 -
Select the photo data, and then adjust the size.
- Select the loaded photo data.
- In the DesignCentral dialog box, select the Proportional check box.
- Enter a size close to that of the printing area and then press Enter.Adjust the size based on the size of the image to be trimmed. Here, set a width of 150 mm (5.90 in.) for the printing area (130 mm × 90 mm [5.12 in., 3.54 in.]).
-
Perform trimming.
- Hold down
 Rectangle Tool, and then select
  Oval Tool.Since this frame will be used as an outer frame for trimming, click
 and then configure the settings as follows.
 tab:No fill
 tab: Type of line: Solid line; Line color: Red
- Select the
 Select Tool, and then move the frame to determine the position to be trimmed.
 - With the image and frame selected with the selection tool, click .
The image is trimmed with a red line.
- Use the [Select Tool] to move the photo to the frame of the printing area and check that there are no problems with the size.
Zoom in/out using the DesignCentral dialog box or the interface item around the selected photo.
- Hold down
-
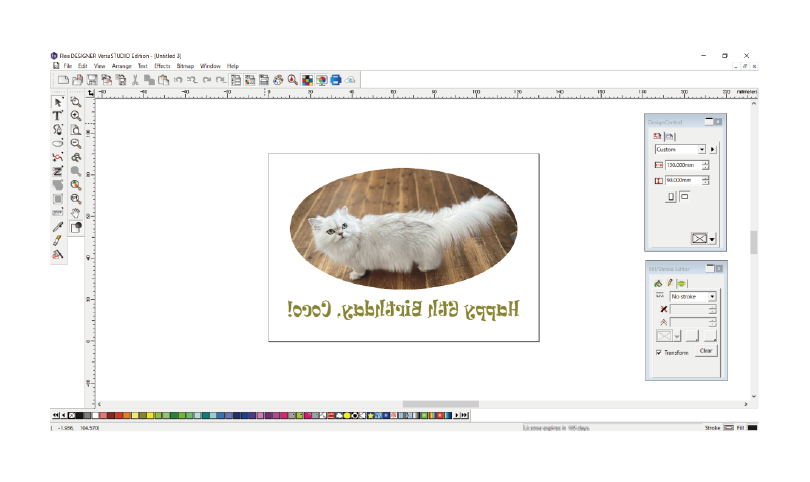
Place the message.
- Select the
 Text Tool.
 - Click a location close to where you want to enter the text, and then enter the text.
- Click Select Tool, and select the text entry.
- Click the
 tab in the DesignCentral dialog box, and then adjust the font and size.
 - Use Select Tool and select the message, then click .
The message text are converted to the state of shapes (they do not change in appearance) so they can be mirrored.
- Change the color and lines of the Fill/Stroke Editor dialog box.
- Select the
-
Mirror the photo and message.
- Select the photo and message in the Select Tool.
- Click , and then press Enter.
The photo will be inverted, centered on the right side.
- Select the photo and message in the
-
With the image and message selected, click .
 The selected photo and message will be placed in the vertical center of the printing area.
-
Click the desired location, and then paste the photo data into the design area.
- Click to save the data.