Handling Severe Dot Drop-out with Spot Color Ink
This operation requires two SOL INK cleaning cartridges.
White ink tends to settle, and may harden if allowed to stand for a lengthy time. Therefore, abnormal ink emission including dot drop-out tends to occur more frequently than with other inks, even when using the cleaning function (normal, medium, or powerful) or manual cleaning.
-
Be sure to hold the handle of the front cover and open and close it gently.
-
A large amount of ink will be discharged during this operation. Perform this operation only when ink emission failures (such as dot drop-out) cannot be improved even after performing "normal," "medium," "powerful," and "manual" cleaning.
-
Be sure to use SOL INK cleaning cartridges. Use of any other type may result in breakdown.
-
Follow the procedure and fill the machine with ink as soon as possible. Leaving the machine alone without ink may damage the print heads.
-
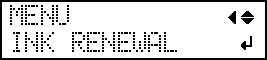
Press ▼ several times to display the screen shown below.
-
Press ENTER when the following screen appears.

-
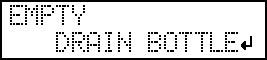
When the following screen is displayed, open the panel cover.

-
Remove the drain bottle and discard the discharged fluid.

 : Upper limit. Discard the discharged fluid before this line is passed.IMPORTANT:
When you remove the drain bottle, a few drops of discharged fluid may come out of the machine. Exercise caution to prevent this fluid from soiling your hands.
-
Close the panel cover.

-
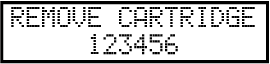
Remove the ink cartridges from slots 5 and 6, whose numbers are flashing.
-
When the screen shown below is displayed, insert SOL INK cleaning cartridges into slots 5 and 6, whose numbers are flashing.
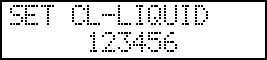
The screen shown below appears.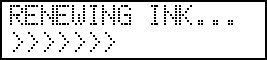
-
When the screen shown below is displayed, remove the SOL INK cleaning cartridges from slots 5 and 6, whose numbers are flashing.
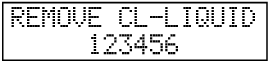
The screen shown below appears.
-
When the screen shown below is displayed, insert ink cartridges into slots 5 and 6, whose numbers are flashing.
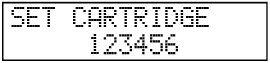
The screen shown below appears.
-
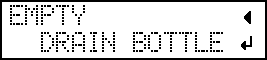
When the following screen is displayed, open the panel cover.
-
Open the panel cover.
-
Remove the drain bottle and discard the discharged fluid.
: Upper limit. Discard the discharged fluid before this line is passed.IMPORTANT:When you remove the drain bottle, a few drops of discharged fluid may come out of the machine. Exercise caution to prevent this fluid from soiling your hands.
-
Close the panel cover.
-
Press ENTER.
The screen shown below appears again.