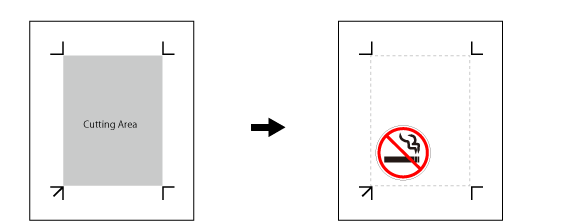
Step 1: Create Crop Mark Data Manually
Create Crop Mark Data in Software other than CutStudio, Illustrator, or CorelDRAW
When drawing crop marks to add to an illustration in application software, take into account the margin necessary for cutting the material when setting the crop mark position.
Procedure
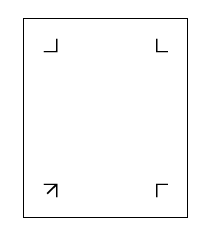
- Draw crop marks.
There is no particular design that should be used for crop marks, but using shapes with corners as shown in the figure below facilitates alignment.
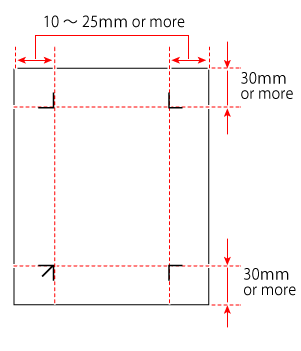
- Set the margins.
When using material with a large amount of feed (long material length), it is recommended that the left and right margins are set at around 25 mm.
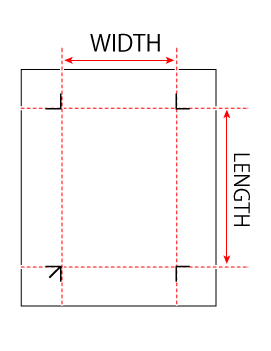
- Make a note of the distance between the crop marks (WIDTH and LENGTH).
You will enter these values into the machine later.
- Make a note of the offset values.
Check the origin (the point where both X and Y are 0) of the software that you are using.
Make a note of the distance between this origin and the lower-left crop mark.
Here, the lower-left corner of the paper surface is the origin in the software. Later explanations assume that the distance from the origin to the lower-left crop mark has the positional relationship shown in the following figure.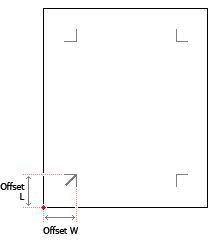
Offset L: 45 mm
Offset W: 25 mm - Draw the illustration in the cutting area within the crop marks.
