Outputting Data Created in CorelDRAW
Procedure
- Start CorelDRAW.
- On the toolbar, click
 .
.
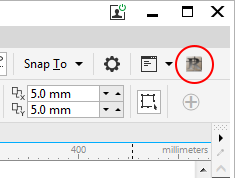
The "Roland CutStudio" palette appears.
- Create a new document and create a new design or open an existing file.
In this example, you will create the design shown in the figure below. Convert the characters to curved lines.
 When you select characters and click
 on the palette, the characters change to outline data.
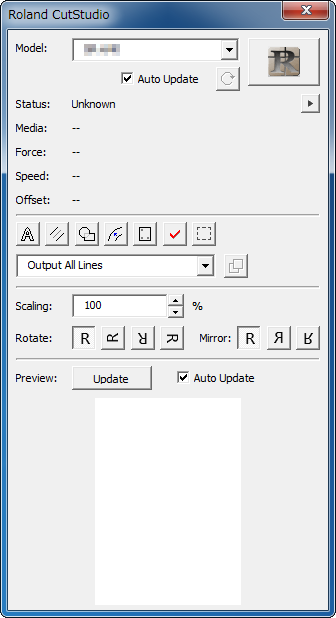
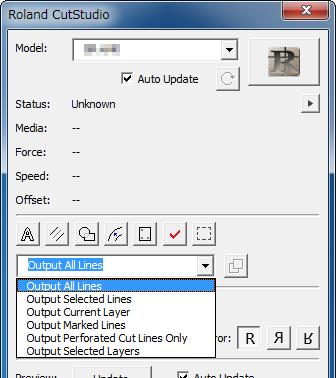
- Select Output All Lines.
- Select the Auto Update check box.
Check that the cutting line that you wish to output is shown on the preview screen.

- Click
 .
.
CutStudio starts, and the cutting line data is sent to CutStudio.
The output data is always aligned at the origin of CutStudio regardless of the position in CorelDRAW.
The data created in CorelDRAW is output to CutStudio according to the following conditions.
All graphics that are drawn are output to CutStudio.
Character strings are not output to CutStudio. Convert character strings to curved lines prior to outputting the data.
Line width, fill, and arrows are ignored.
Lines without width are not output.
Images are not output. - Perform cutting.
When perform cutting from CutStudio, refer to the procedure of "Simple! Basic Cutting."