Step 7-3: Enter Characters and Shapes
Enter Characters and Shapes
This example explains the procedure for entering the word "SALE" and creating a frame to make it easy to peel off afterward.
Procedure
- Click
 .
.

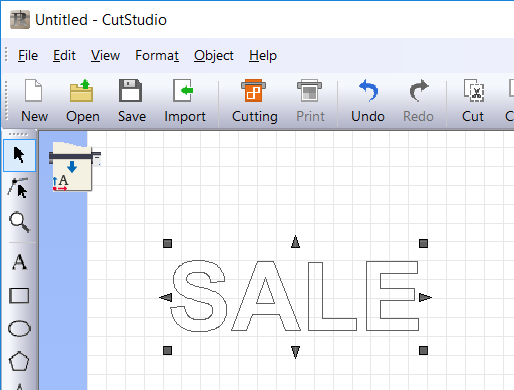
- Click anywhere in the white area, and type "SALE."

- Click
 , and change the size of the characters.
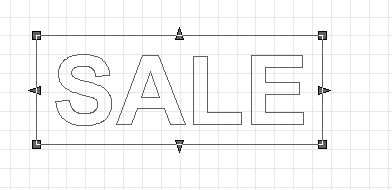
 and
and  appear around the characters. Drag the and around the text box to change the size of the characters.
 Select the object, and click
 in the menu bar. You can configure advanced settings in the Properties window.
 -
From the Object menu, click Weed.

The Weed dialog box appears.
-
Select the Weed Border check box, and then click OK.
A waste removal line is added around the characters.
The character or shape to which the waste removal line has been added is grouped together with the waste removal line.
For details on waste removal lines, see the CutStudio help. - Click , and then move the characters with the waste removal frame added.
Move the object to the bottom of the screen close to the origin.
 Select the object that you want to mode to the origin, and then click
 in the menu bar to move it to the origin.
-
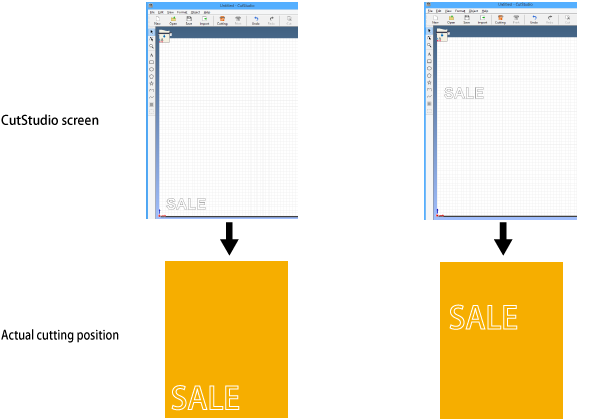
Position characters and shapes at the bottom of the screen
When positioning characters and shapes in CutStudio, it is better to position them starting from the bottom of the screen. This makes it possible to prevent feeding more of the material than needed. The leading edge of the loaded material is the bottom edge of the cutting area in the CutStudio screen. Therefore, positioning characters at the bottom of the CutStudio screen means the characters will be cut close to the leading edge of the material.