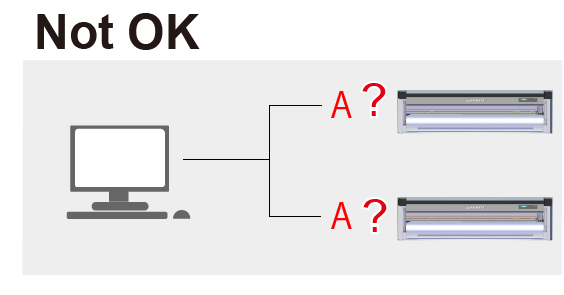
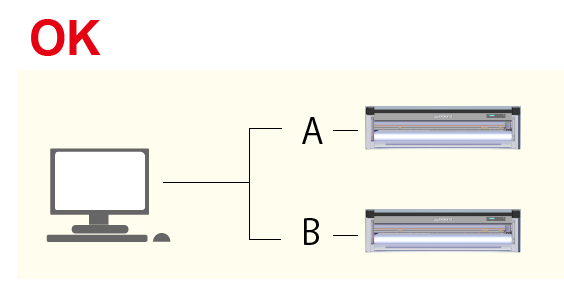
When connecting multiple instances of this machine to a single computer with a USB cable, you must change the USB number of each machine so that the computer can distinguish between output destinations. The machine's default setting is "A." When connecting two or more machines, the second machine and every machine thereafter must be configured with a setting other than "A" so that the machine can distinguish the output destination of the data.
(1) Change the Name of the Second Cutting Machine
Follow the procedure below to connect a second machine. The same procedure can be used to connect a third unit and any subsequent units.
Procedure
-
* Do not connect the USB cable at this stage.
-
Turn off the power of the machine.
-
While holding down [PINCH], switch on the power switch.
The screen shown in the following figure is displayed.

-
Press [
 ] and [
 ] to select a setting other than "A."
It is possible to select a value from "B" to "E." In this example, "B" is selected.
-
Press [ENTER].
The screen shown in the following figure is displayed.

-
Turn the power off and then on again.
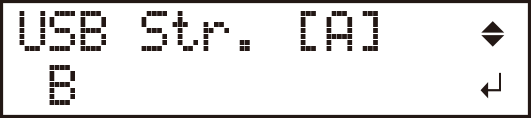
The screen shown in the following figure is displayed. Check that the letter you set in step 3 is displayed.

(2) Connect and Change the Computer's Printer Settings
Procedure
-
Connect the machine to the computer using the USB cable.
The driver is installed.
-
Open Devices and Printers.
Roland GR-640 (Copy 1) (or 1 Copy) is created.
(Hereinafter, this is referred to as "Copy 1.")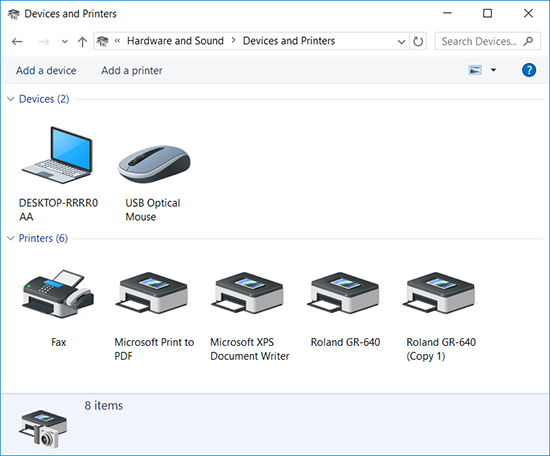
Windows 10
Right-click the Start menu, click Control Panel, click Hardware and Sound, and then click Devices and Printers.
Windows 8.1
From the Start screen, click Apps, and then click Control Panel. Click Hardware and Sound, and then click Devices and Printers.
Windows 7
From the Start menu, select Devices and Printers.
-
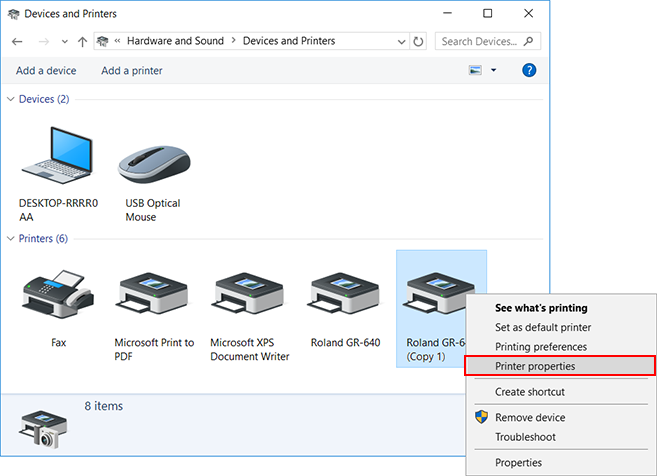
Right-click Roland GR-640 (Copy 1), and then select Printer properties.
-
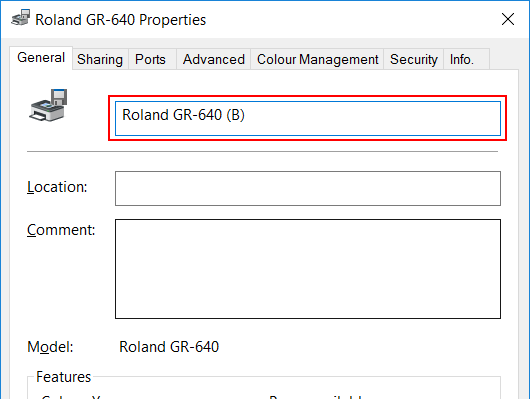
Change Roland GR-640 (Copy 1) to Roland GR-640 (B).
-
Click OK.
(3) Check That the Second Cutting Machine Has Been Installed
Procedure
-
Start CutStudio.
-
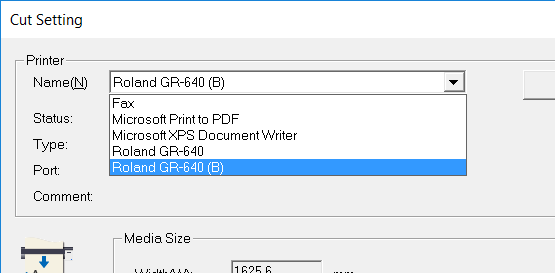
From the File menu, click Cutting Setup.
-
Click the Printer Name.
Check that GS-640 (B) is displayed.
If the screen looks similar to the one displayed in the figure below, the second machine is connected correctly.