* The screenshots show an example of Illustrator CC 2015, but the operation procedure is the same for other versions.
You must install Plug-in for Illustrator before proceeding.
Procedure
- Start Illustrator.
- In Illustrator, click Extensions > Roland CutStudio from the Window menu.
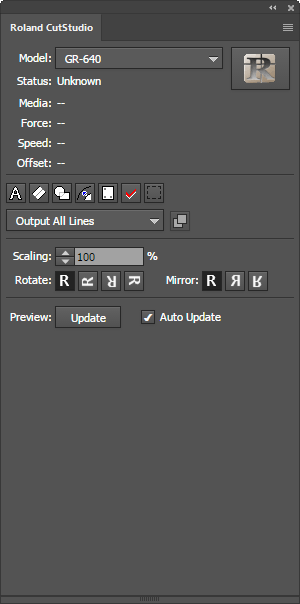
The "Roland CutStudio" palette appears.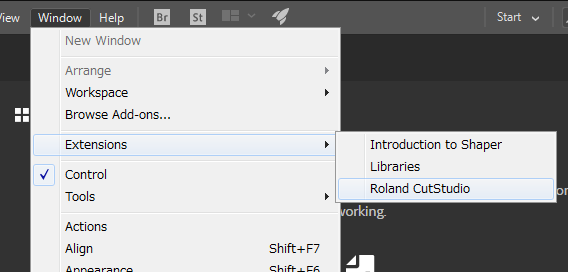
- Create a new file and create a new design or open an existing file.
In this example, you will create the design shown in the figure below. Change the characters to outline data.
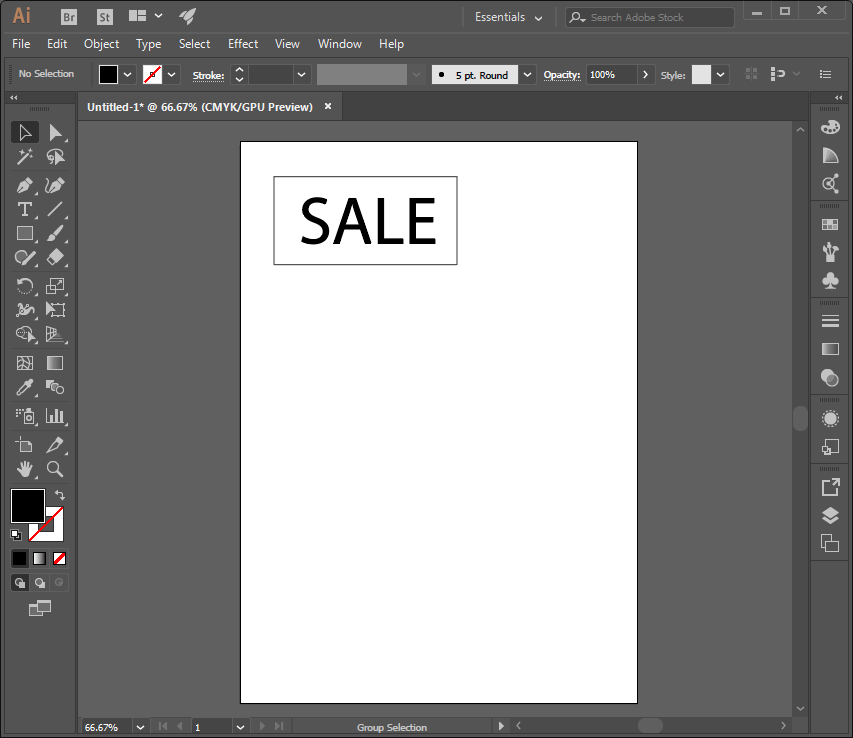 When you select characters and click
 on the palette, the characters change to outline data.
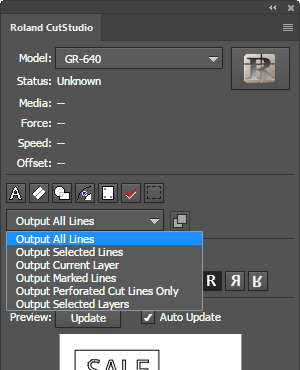
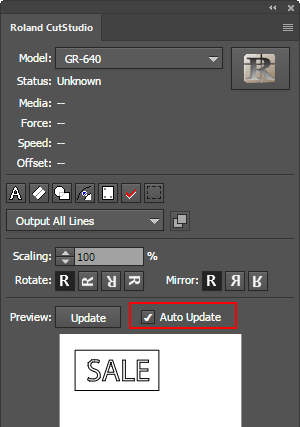
- Select Output All Lines.
- On the Roland CutStudio palette, select the Auto Update check box.
Check that the cutting line that you wish to output is shown on the preview screen.
- Click
 .
.
CutStudio starts, and the cutting line data is sent to CutStudio.
The output data is always aligned at the origin of CutStudio regardless of the position in Illustrator. (This does not apply to data with crop marks.)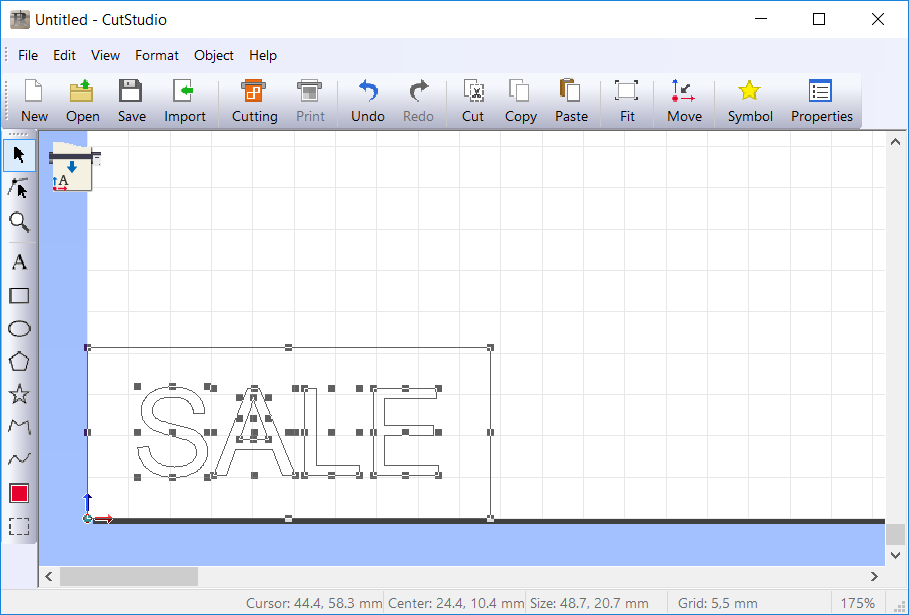
- Perform cutting.
When perform cutting from CutStudio, refer to the procedure of "Simple! Basic Cutting."